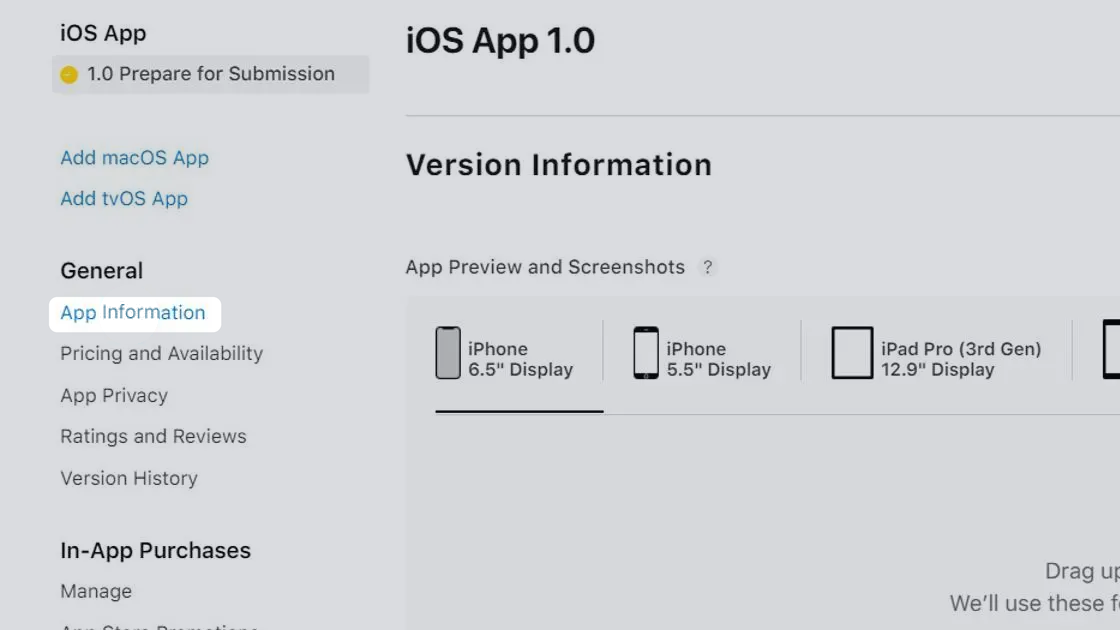
Select your app.
Click "App Information" in the menu on the left.
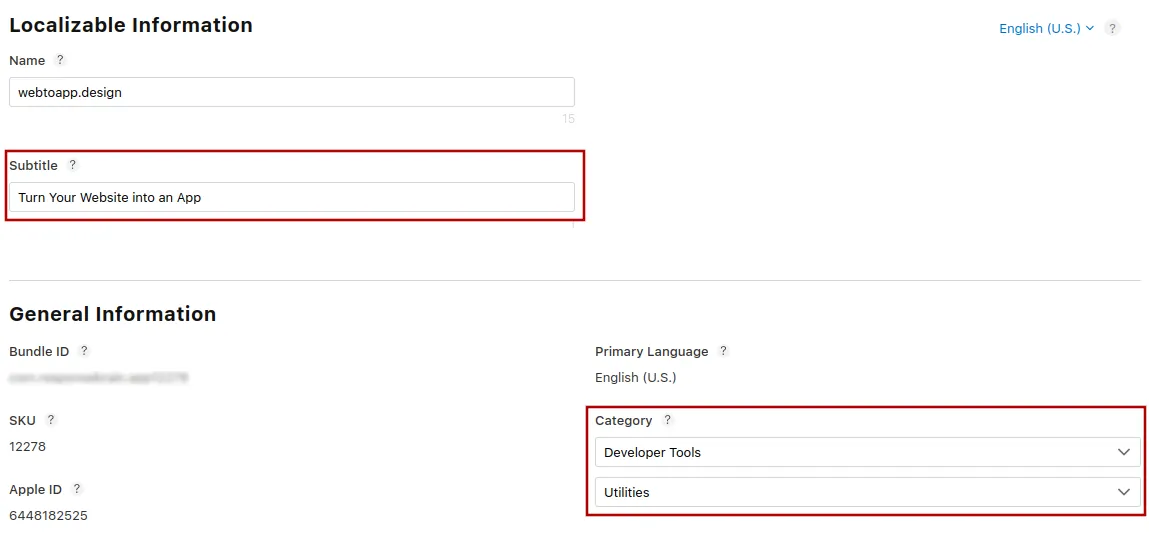
If you want, you can enter a subtitle that summarizes what your app does. It will be shown below your app name in the App Store.
Select a primary app category that suits your app best. You can optionally enter a secondary category if you find another one that is suitable.
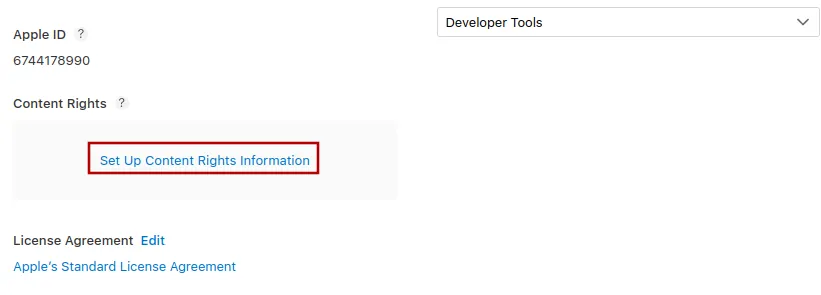
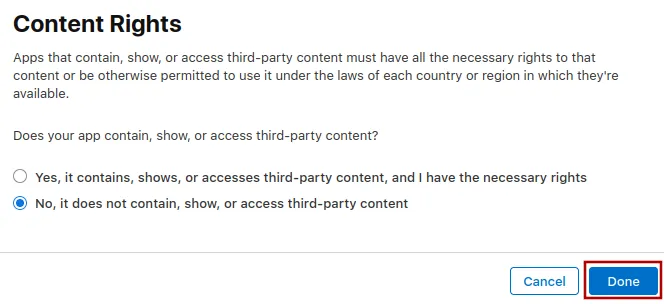
Next, click "Set Up Content Rights Information".
Most apps can select "No, it does not contain, show, or access third-party content". If your app is for example a streaming service (like Netflix) that shows licensed movies, then you can select "Yes, it contains, shows, or accesses third-party content, and I have the necessary rights". Afterwards, click "Done".
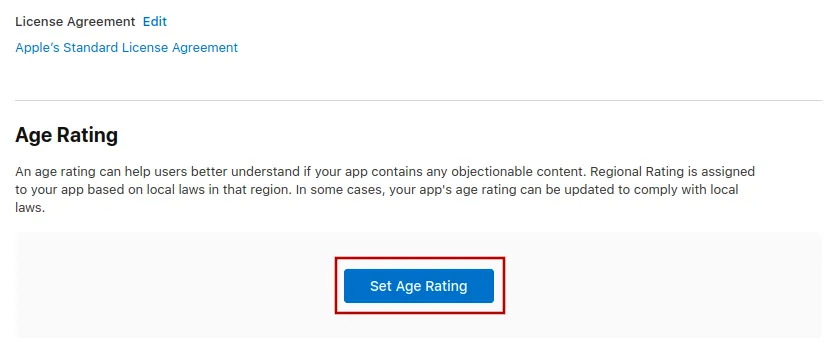
A bit further down on the page, click "Set Age Rating".
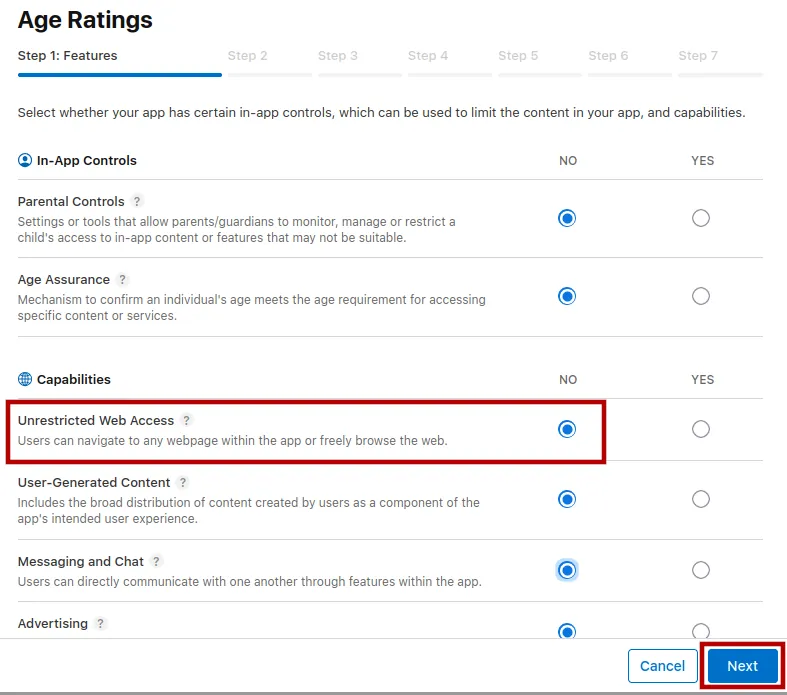
In the dialog that opens, accurately describe if your app contains any of the ratings-relevant content. Most apps can select "No" for all questions. This includes "Unrestricted Web Access" because your app mainly shows your website.
Once you've made your selections, click the "Next" button at the bottom right.
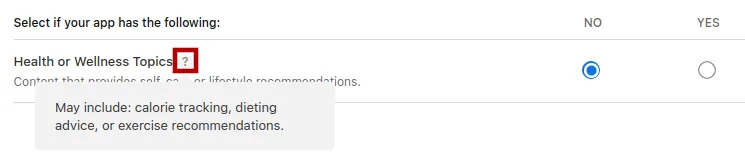
If you're unsure about what to answer for a specific question, you can click on the question mark to get more information.
On the last step, select "Not applicable" or "Override to Higher Age Rating", whichever you prefer.
Don't select "Made for Kids". Kids and teenagers will be able to download your app anyways as long as they are above the minimum age.
Why You Shouldn’t Mark Your App As Being Made for Kids
The only benefit of the "Made for Kids" program is that your app gets listed in that category. However, you have to comply with extremely strict guidelines:
- Your app/website can't show advertisements.
- Your app can't use any analytics. Sometimes Apple even mistakenly identifies our error reporting features (so we can fix app issues) as analytics.
- Your app/website can't contain any links to external websites (such as social media or any other content you don't completely control).
- Your app/website can't show any purchasing prompts to kids, so you need to add parental gates.
- Your app can't ask for permissions (like push notifications) from kids.
- You can never remove your app from the kids category again, you will need to follow these guidelines forever.
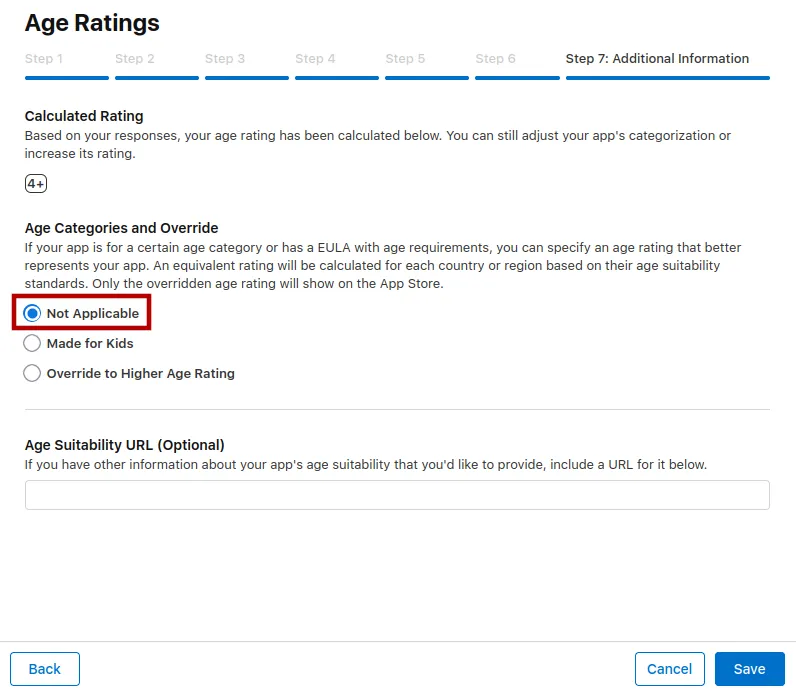
Click "Save" to close the dialog.
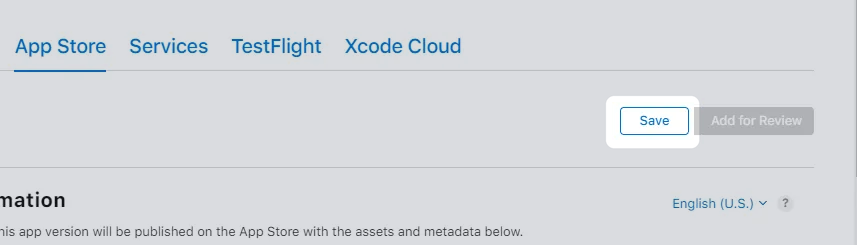
You can now click the "Save" button at the top right.