How to Set Up Your App's App Store Listing
Updated on 3. November 2024 by Jan Bunk

Select your app.
First Page
Fill the information on this first page. When in doubt, click the question mark next to the input field for an explanation.
Screenshots
- You can take screenshots with devices in the required sizes here.
- If you'd like to edit your screenshots, we recommend that you check out our guide on taking and editing screenshots to make sure you follow the Play Store guidelines.
- You don't need to upload screenshots for the iPhone with the 6.9 inch screen size.
- Don't upload Android screenshots in your Apple App Store listing.
- Don't resize iPhone screenshots to the iPad size.
- Don't take screenshots of your website in the browser.
App Descriptions
- In the promotional text field, you can mention currently ongoing promotions, e.g. a summer sale, holiday discounts, etc.
- Be detailed! For example, write at least 5 sentences for your app description.
We generated this app description as an inspiration for you. Of course double-check that it is accurate and makes sense before using it.
- Don't mention that your app is based on a website. That often leads the Apple app reviewers to premature, incorrect conclusions.
General App Information
- Enter a few keywords that are related to your app. For example a fashion shopping app could use the keywords: shop, ecommerce, clothing, shoes
- You can use your website's homepage as the marketing URL.
- Use a link to your contact or support page for the support URL. The page must be publicly accessible (without login) and offer a way to contact you (e.g. via e-mail, phone or a contact form).
- You can use your or your company's name in the copyright section. You don't need to mention webtoapp.design.
- Routing App Coverage File
- App Clip
- iMessage App
- Apple Watch
- Build (we wll select a build version in a following guide)
- Game Center
Review Information
If your website has an account system, you need to provide a test account to the app reviewers - even if logging in is optional. The test account should be a regular user account of your website/app, it doesn't need to have special admin permissions.
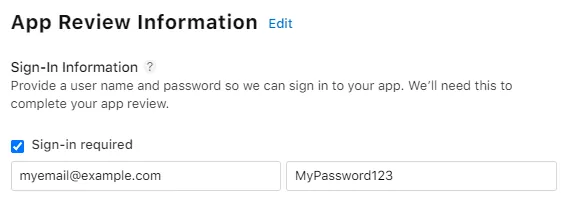
For the contact information, please either input my information or consult with me before answering their questions (if they call you, say you need to clarify with your developer). This way we can avoid common mistakes and speed up the review process.
My information:
- First name: Jan
- Last name: Bunk
- Email: apple@.................... f@ke.mailwebtoapp.design
- Phone Number: +49 15678 0X0X0X0X0X0X0X0420089
Remember to save your entered information.
In case you see a message saying you still need to upload a build, that's completely normal. We will upload and select a build in the following guides.

App Information
Make sure you keep the App Store Guidelines in mind while filling out the information below.
Click 'App Information'
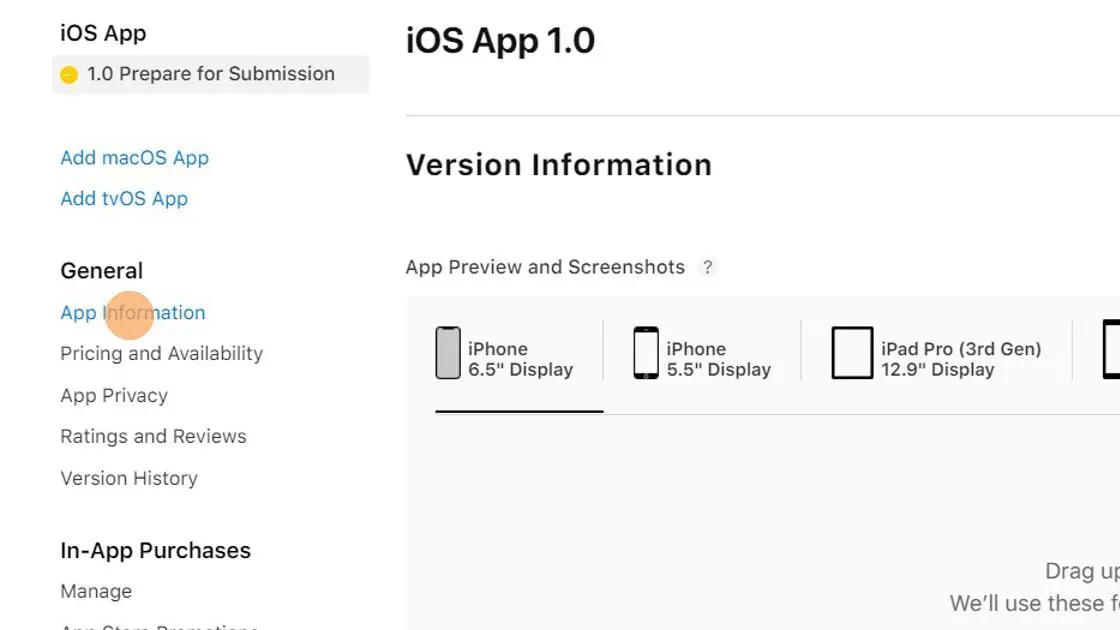
Enter a subtitle. It will be shown below your app name in the App Store.
App Category
Select the app category that suits your app best. You can optionally enter a secondary category if you find another one that is suitable.
Content Rights
Configure the content rights information based on whether your website uses content that requires special rights to use. Most apps can select "No, it does not contain, show, or access third-party content".
Age Rating
Configure the age rating for your app. When asked whether your app contains unrestricted internet access, pick "No, this app does not include unrestricted internet access.".
Don't tick the "Made for Kids" checkbox. Kids and teenagers will be able to download your app anyways as long as they are above the minimum age.
Why You Shouldn’t Mark Your App As Being Made for Kids
The only benefit of the "Made for Kids" program is that your app gets listed in that category. However, you have to comply with extremely strict guidelines:
- Your app/website can't show advertisements.
- Your app can't use any analytics. Sometimes Apple even mistakenly identifies our error reporting features (so we can fix app issues) as analytics.
- Your app/website can't contain any links to external websites (such as social media or any other content you don't completely control).
- Your app/website can't show any purchasing prompts to kids, so you need to add parental gates.
- Your app can't ask for permissions (like push notifications) from kids.
- You can never remove your app from the kids category again, you will need to follow these guidelines forever.
Remember to save your entered information.
Pricing and Availability
Click 'Pricing and Availability'
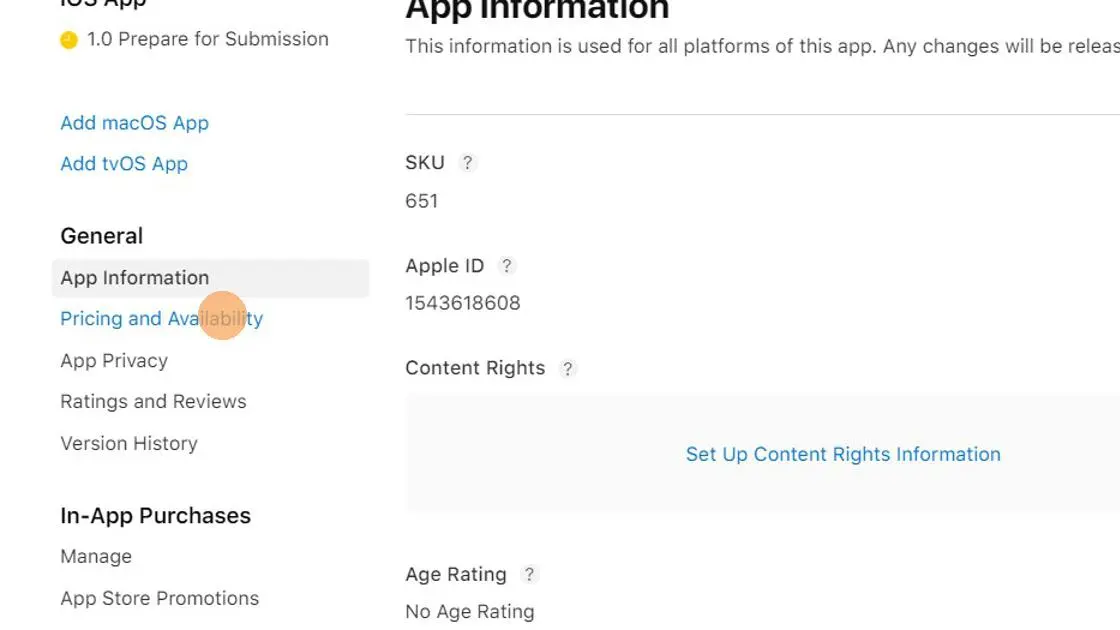
Select a price for your app.
Select where you want your app to be available.
Remember to save your entered information.
App Privacy
Go to 'App Privacy'
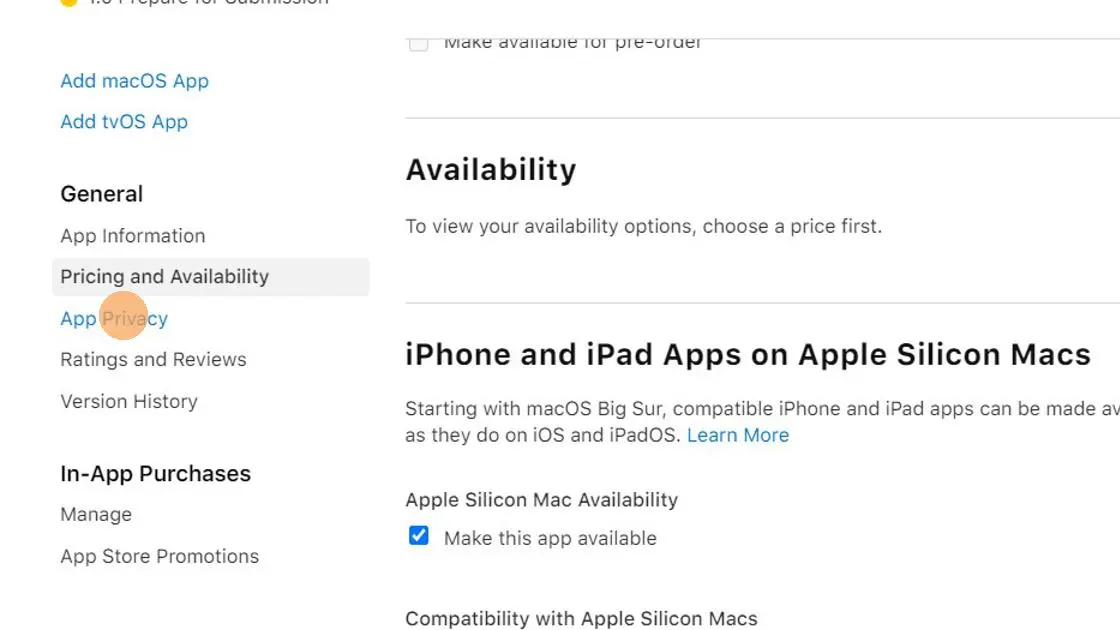
Click "Edit".

In the "Privacy Policy URL" field, enter the link to the privacy policy of your website.
Alternatively, you can link to this privacy policy that we generated for your app: https://webtoapp.design/apps/privacy_policy/Couldn't%20serialize%20app_id,%20probably%20undefined
Start the questionnaire and click 'Yes, we collect data from this app'
Select any data you collect from your website users. Also select "Crash Data". When asked to further specify how crash data is used, select "App Functionality", "not linked to the user's identity" and "No, we do not use crash data for tracking purposes".
In general, always answer that you don't use the collected information for tracking purposes.
Explanation why your data usage doesn't count as tracking under Apple's definition
Apple's definition of tracking is that you use the information to track users across other companies' websites and apps, which usually only applies to advertising companies like Google and Facebook.
If you were to answer "Yes" to the question if you track your users, Apple would require that the app asks for the tracking permission. This permission is meant to be used to get access to the user's advertising identifier. The app does not need the advertising identifier though, so it makes no sense to ask for it.
Depending on your selection you might also have to fill in some information below:
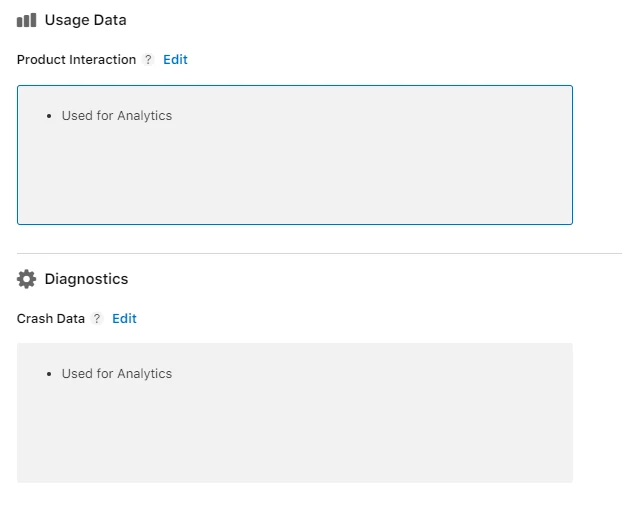
Click 'Publish' at the top right to save your privacy information.
I've completed all the steps in this guideOnce you've completed all the steps in this guide, please click this button so you can continue with the next guides.

Jan Bunk
Hi, I'm Jan! I created webtoapp.design in 2019 while studying computer science in university. A lot has changed since then - not only have I graduated, but it's also no longer just me running webtoapp.design. We've grown to a global, fully remote team and have gathered lots of experience around app development and app publishing. We've created and published hundreds of apps in the app stores, where they've been downloaded millions of times.