You are not logged in. This guide can only be completed if you have
converted your website into an app with webtoapp.design.
This guide is part of the app publishing process. You should only complete it when asked to in the
app publishing timeline.
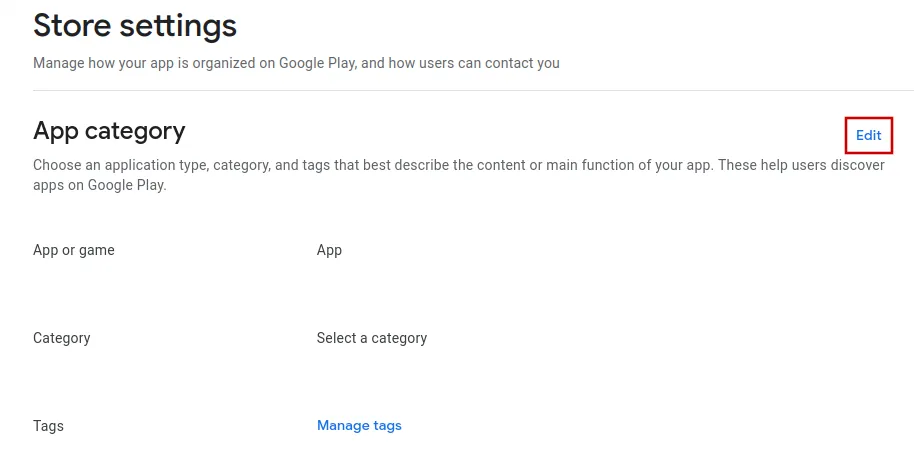
Open the "Store Settings" page in the Google Play Console.Click "Edit" at the top right.
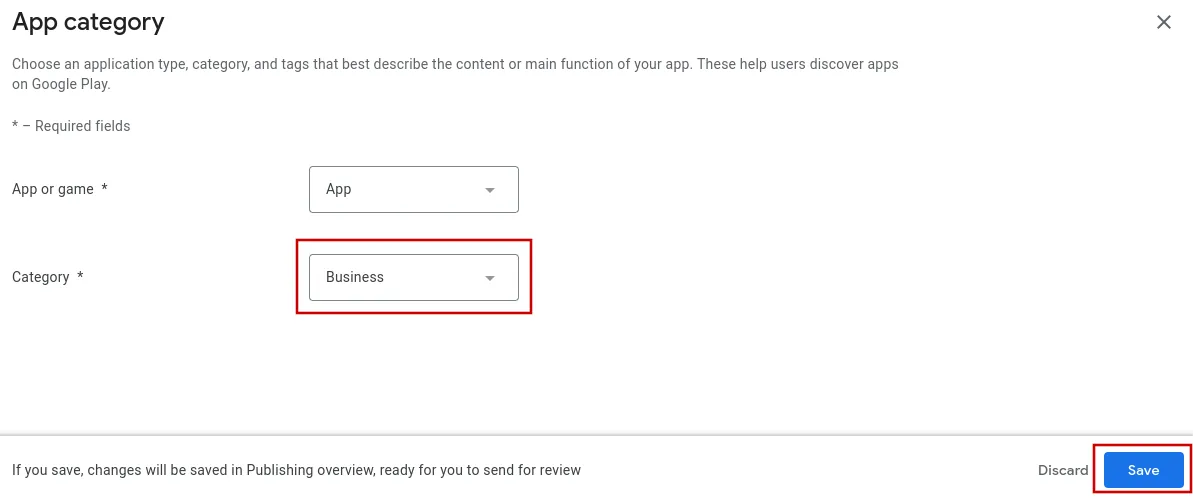
Select a category and then click the save button at the bottom right.
Apps in the categories "Medical" and "Health & Fitness" can only be published in organizational Google developer accounts. If you're using a personal developer account, don't select those categories.
Apps in the categories "Social", "Dating" and "News & Magazines" require filling out additional questionnaires, so we recommend avoiding them.
You can optionally click "Manage tags" and select tags related to your app now.
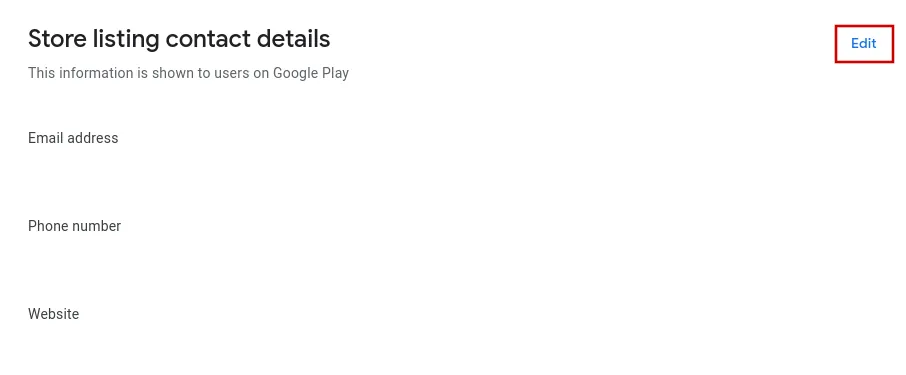
Next, scroll down and click "Edit" on the contact details section.
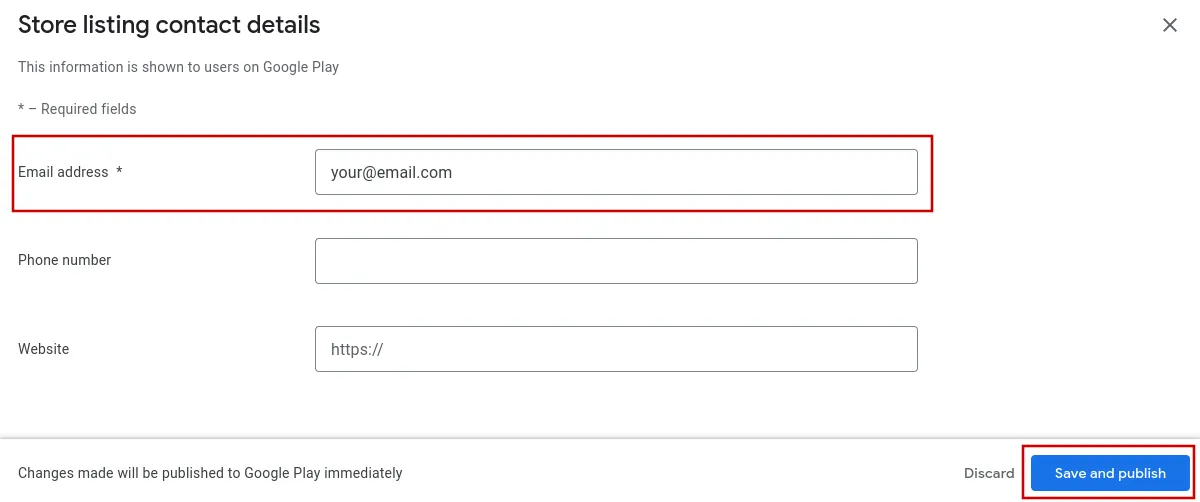
Enter a contact e-mail address. This e-mail will be publicly visible in the Google Play Store.
If you want, you can also enter your website and phone number.
Afterwards, click "Save and publish".