Apple rejected the app because users can make charitable donations inside it, but your organization does not appear to be a nonprofit approved by Apple.
For most website-based apps, the easiest solution is to open the donation page outside the app in the user's browser. Alternatively, you can hide the donation buttons inside the app.
Option 1: Open the Donation Page Outside the App
Open your app's navigation settings. In the "URLs to Open Externally" section, add the address of your donation page to the list of URLs.
Check every donation link in your app. If different buttons lead to different donation pages, add each URL. If the URLs vary, for example because they contain different query parameters, you can use a regular expression in the same settings section to cover them.
Afterwards, test the donation buttons in your iOS app. They should open the donation page in Safari or the user's default browser, with the entire donation process taking place outside the app.
Option 2: Hide the Donation Buttons Inside the App
If you don't need users to donate from the app, hide the donation buttons, forms, and links inside it. Check the website's menus, footer, popups, and any fundraising pages that users can reach. 앱 내에서 웹사이트의 특정 부분을 숨기는 다양한 방법은 이 가이드에서 설명해요.
Alternative: Become an Approved Nonprofit
If you want to collect charitable donations inside the app, your nonprofit must complete Apple's approval process. Being registered as a nonprofit or having an organization developer account alone is not enough.
Apple accepts nonprofit approval through Benevity for all locations, or through Candid for nonprofits based in the United States.
Explain Your Changes to Apple
Reply to Apple and explain which solution you implemented. If donation links now open outside the app, describe the steps to find a donation button and confirm that the donation process opens in the browser. If you removed the donation options, tell Apple where they were removed. If your nonprofit is already approved, provide the approval details instead.
If your nonprofit is already approved by Benevity or Candid, confirm that status in your reply and also add the approval details to the App Review Information section in App Store Connect.
Apple에 메시지를 보내려면 "App Review"를 클릭하세요.
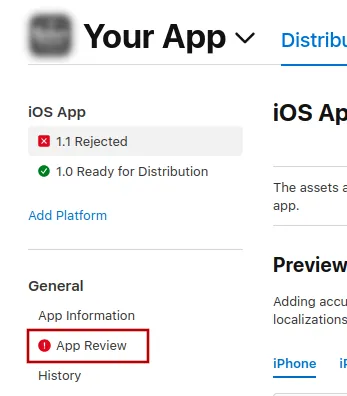
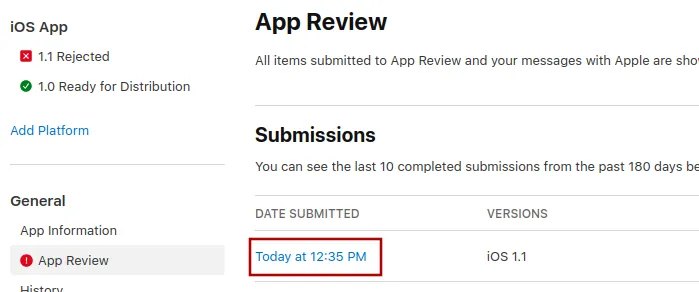
여기에서 가장 최근 제출 항목을 선택하세요.
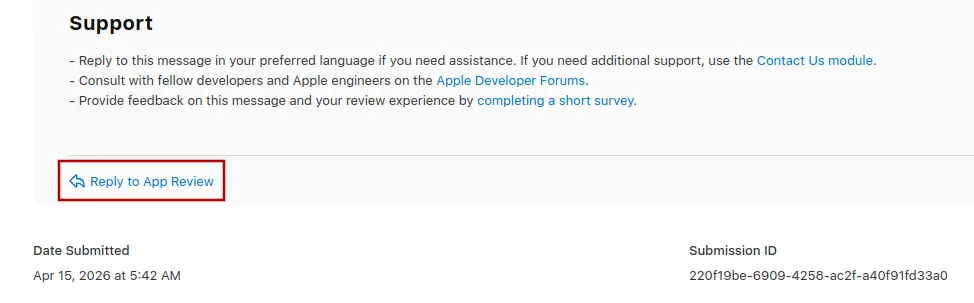
이제 Apple의 거부 메시지 하단으로 스크롤하여 "Reply to App Review"를 클릭한 다음, 열리는 팝업에 메시지를 작성할 수 있어요.
앱을 심사에 다시 제출하기
이것이 마지막 또는 유일한 앱 거부 사유였다면 다음 단계에 따라 앱을 심사에 다시 제출해 주세요:
화면 상단의 "Distribution" 또는 왼쪽 메뉴의 버전 번호를 클릭하여 버전 페이지로 이동하세요.

이제 오른쪽 상단의 "Update Review" 버튼을 클릭하세요.
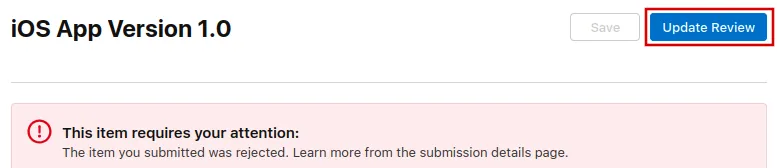
그런 다음 열리는 다음 페이지에서 "Resubmit to App Review"를 클릭하세요.

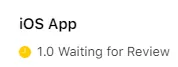
그러면 "심사 대기 중"이라고 표시돼요.