Apple rejected the app because users can make charitable donations inside it, but your organization does not appear to be a nonprofit approved by Apple.
For most website-based apps, the easiest solution is to open the donation page outside the app in the user's browser. Alternatively, you can hide the donation buttons inside the app.
Option 1: Open the Donation Page Outside the App
Open your app's navigation settings. In the "URLs to Open Externally" section, add the address of your donation page to the list of URLs.
Check every donation link in your app. If different buttons lead to different donation pages, add each URL. If the URLs vary, for example because they contain different query parameters, you can use a regular expression in the same settings section to cover them.
Afterwards, test the donation buttons in your iOS app. They should open the donation page in Safari or the user's default browser, with the entire donation process taking place outside the app.
Option 2: Hide the Donation Buttons Inside the App
If you don't need users to donate from the app, hide the donation buttons, forms, and links inside it. Check the website's menus, footer, popups, and any fundraising pages that users can reach. Ten poradnik wyjaśnia różne sposoby ukrywania części Twojej strony w aplikacji.
Alternative: Become an Approved Nonprofit
If you want to collect charitable donations inside the app, your nonprofit must complete Apple's approval process. Being registered as a nonprofit or having an organization developer account alone is not enough.
Apple accepts nonprofit approval through Benevity for all locations, or through Candid for nonprofits based in the United States.
Explain Your Changes to Apple
Reply to Apple and explain which solution you implemented. If donation links now open outside the app, describe the steps to find a donation button and confirm that the donation process opens in the browser. If you removed the donation options, tell Apple where they were removed. If your nonprofit is already approved, provide the approval details instead.
If your nonprofit is already approved by Benevity or Candid, confirm that status in your reply and also add the approval details to the App Review Information section in App Store Connect.
Aby wysłać wiadomość do Apple, kliknij „App Review”.
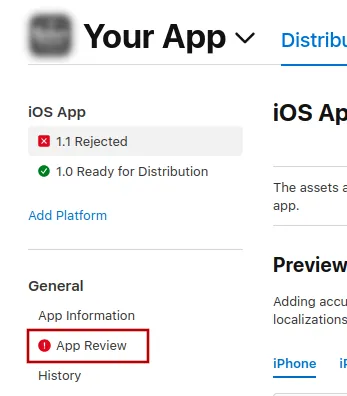
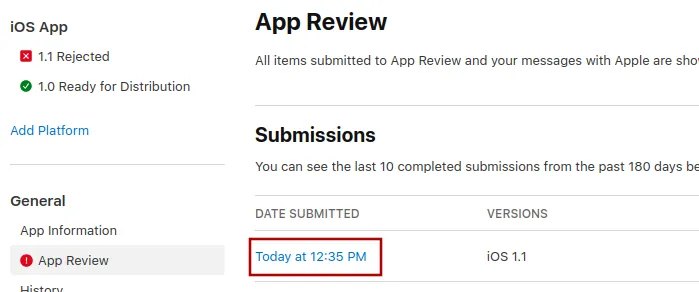
Tam wybierz najnowsze zgłoszenie.
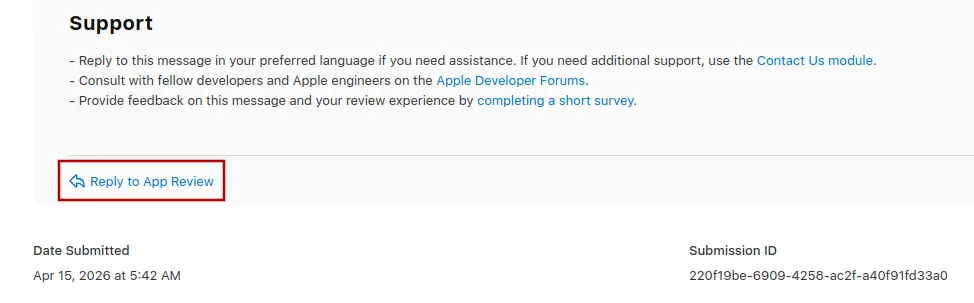
Teraz możesz przewinąć na dół wiadomości o odrzuceniu od Apple i kliknąć „Reply to App Review”, a następnie napisać wiadomość w wyskakującym oknie, które się otworzy.
Ponowne wysłanie aplikacji do weryfikacji
Jeśli to był ostatni lub jedyny powód odrzucenia aplikacji, wykonaj te kroki, aby ponownie wysłać aplikację do weryfikacji:
Przejdź na stronę wersji, klikając „Distribution” u góry ekranu albo numer wersji w menu po lewej.

Teraz kliknij przycisk „Update Review” w prawym górnym rogu.
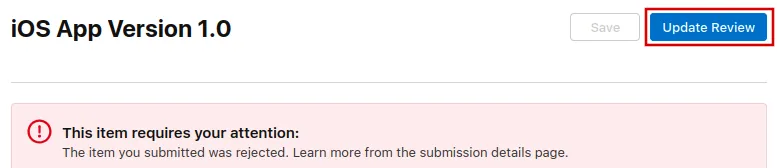
Następnie kliknij „Resubmit to App Review” na kolejnej stronie, która się otworzy.

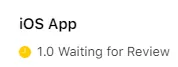
Powinno się wtedy pojawić "Oczekiwanie na recenzję".