Apple rejected the app because users can make charitable donations inside it, but your organization does not appear to be a nonprofit approved by Apple.
For most website-based apps, the easiest solution is to open the donation page outside the app in the user's browser. Alternatively, you can hide the donation buttons inside the app.
Option 1: Open the Donation Page Outside the App
Open your app's navigation settings. In the "URLs to Open Externally" section, add the address of your donation page to the list of URLs.
Check every donation link in your app. If different buttons lead to different donation pages, add each URL. If the URLs vary, for example because they contain different query parameters, you can use a regular expression in the same settings section to cover them.
Afterwards, test the donation buttons in your iOS app. They should open the donation page in Safari or the user's default browser, with the entire donation process taking place outside the app.
Option 2: Hide the Donation Buttons Inside the App
If you don't need users to donate from the app, hide the donation buttons, forms, and links inside it. Check the website's menus, footer, popups, and any fundraising pages that users can reach. This guide explains the different ways to hide parts of your website inside the app.
Alternative: Become an Approved Nonprofit
If you want to collect charitable donations inside the app, your nonprofit must complete Apple's approval process. Being registered as a nonprofit or having an organization developer account alone is not enough.
Apple accepts nonprofit approval through Benevity for all locations, or through Candid for nonprofits based in the United States.
Explain Your Changes to Apple
Reply to Apple and explain which solution you implemented. If donation links now open outside the app, describe the steps to find a donation button and confirm that the donation process opens in the browser. If you removed the donation options, tell Apple where they were removed. If your nonprofit is already approved, provide the approval details instead.
If your nonprofit is already approved by Benevity or Candid, confirm that status in your reply and also add the approval details to the App Review Information section in App Store Connect.
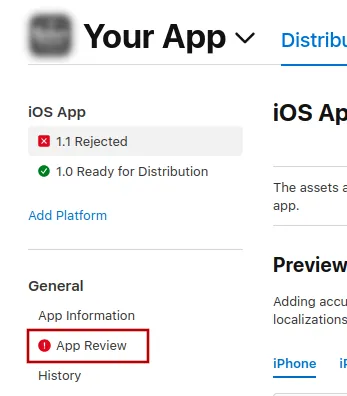
To send Apple a message, click "App Review".
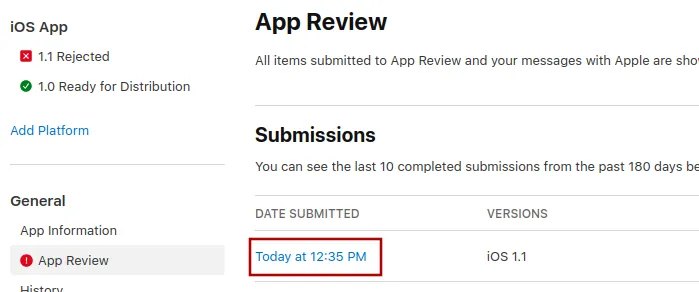
There, select the latest submission.
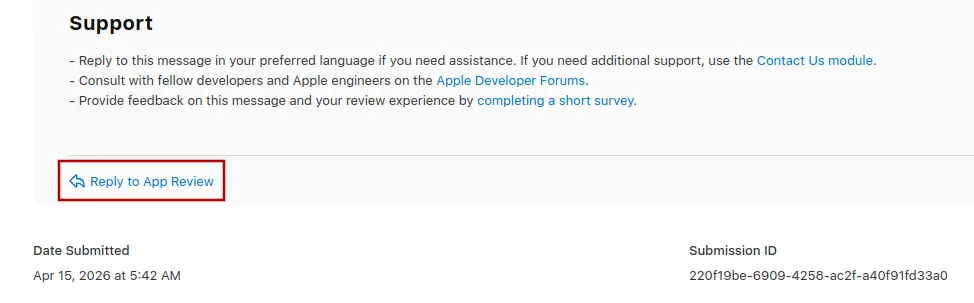
Now you can scroll to the bottom of Apple's rejection message and click "Reply to App Review" and write your message in the popup that opens.
Submitting the app for review again
If this was the last or only app rejection reason, please follow these steps to submit your app for review again:
Go to the version page by clicking "Distribution" at the top of your screen or the version number in the menu on the left.

Now click the "Update Review" button at the top right.
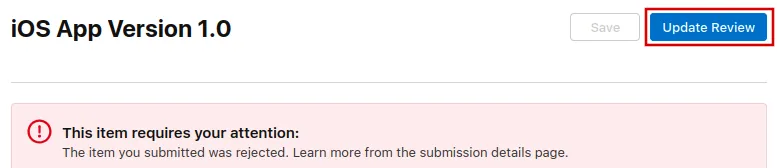
Afterwards, click "Resubmit to App Review" on the next page that opens.

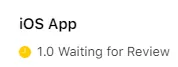
It should then say "Waiting for Review".