Like most software, apps we create need to use some open source code to work. Simply put, open source code is published by other developers and they allow anyone to use it, as long as they follow the license requirements that apply to the code. Examples for such licenses are the MIT or BSD license. Many licenses include clauses that require the license to be contained in any software (in this case your app) that uses the code the license applies to.
What does this mean for you?
Your app needs to display the licenses of some packages that are necessary for the app to work.
Most of our app layouts include a button that leads to the settings screen by default.
The licenses can be viewed on the settings screen by users of your app. So if the settings screen is accessible in your app, you don't need to do anything.
If you don't want to make the settings screen accessible, you can instead show only the license page as we'll describe below.
Showing the Licenses Manually
Basically, you need to add a button or link to your website, which lets users open the app's license page.
The easiest solution is to add a button/link to your website that leads to https://webtoapp.design/apps/show_licenses
Now when a user clicks this link in your app, it will show them the licenses. The best place to add this link on your website is for example in your website's footer or in the terms of service.
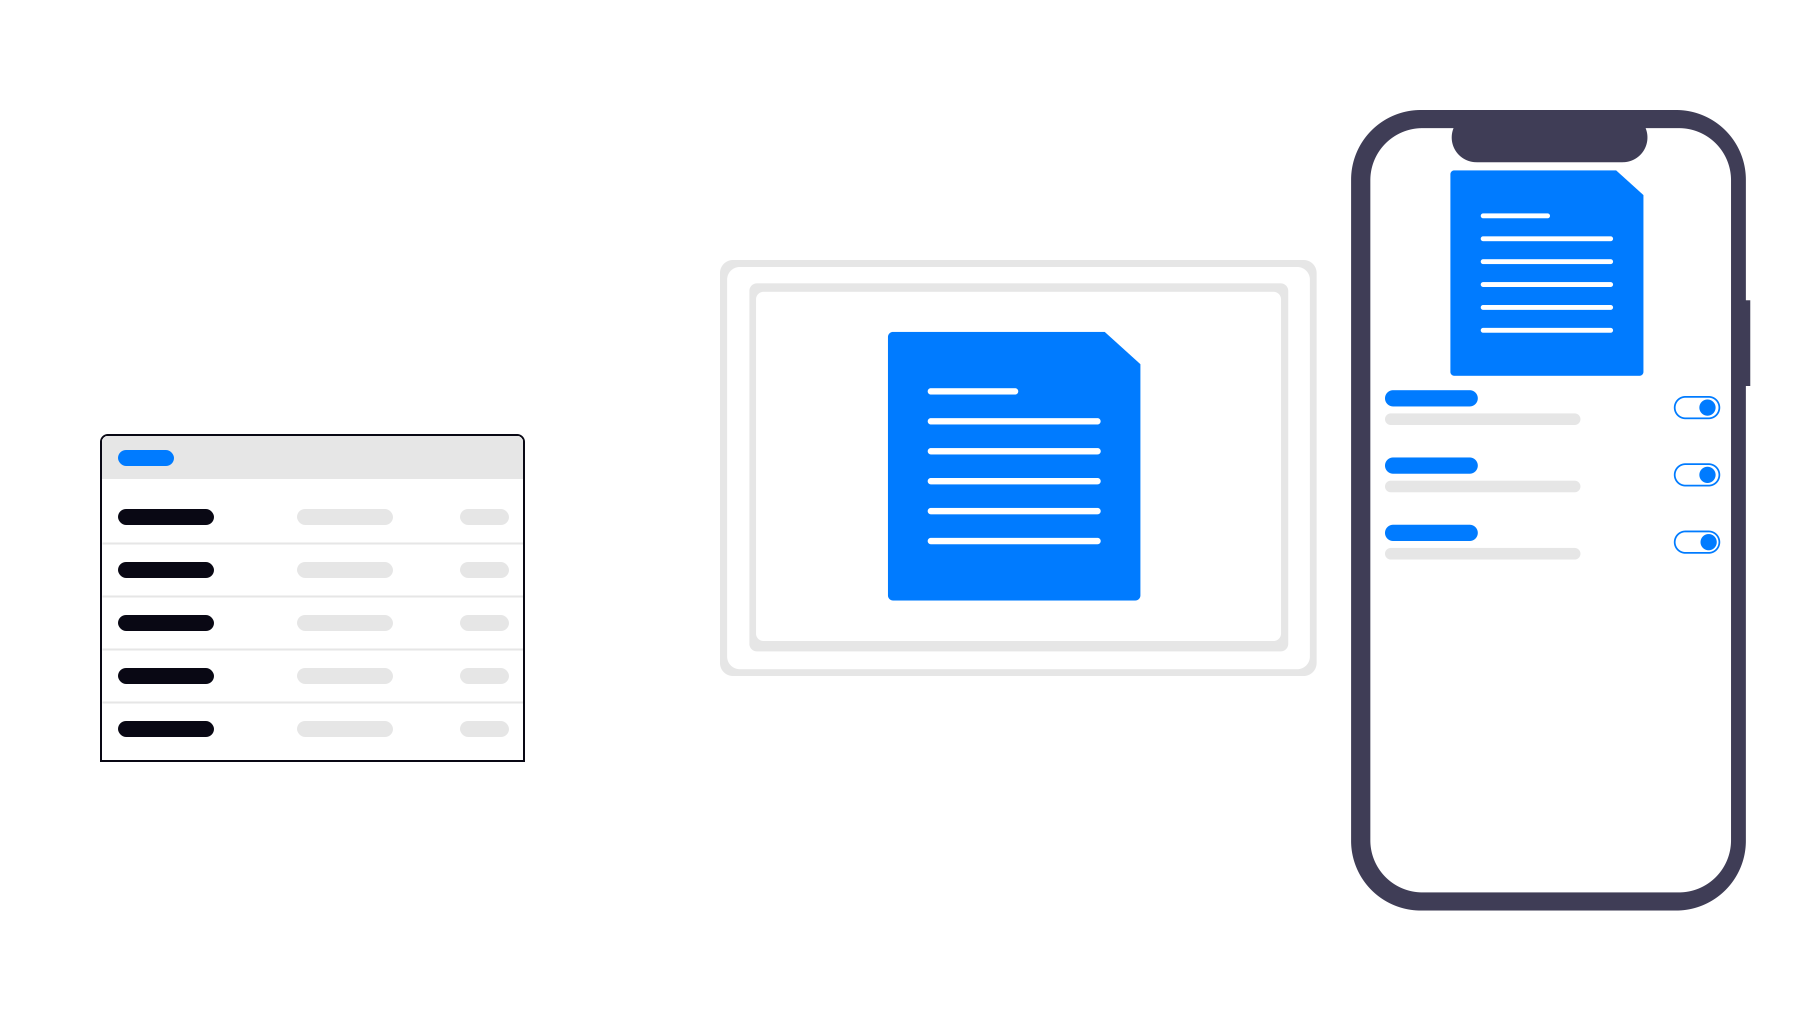
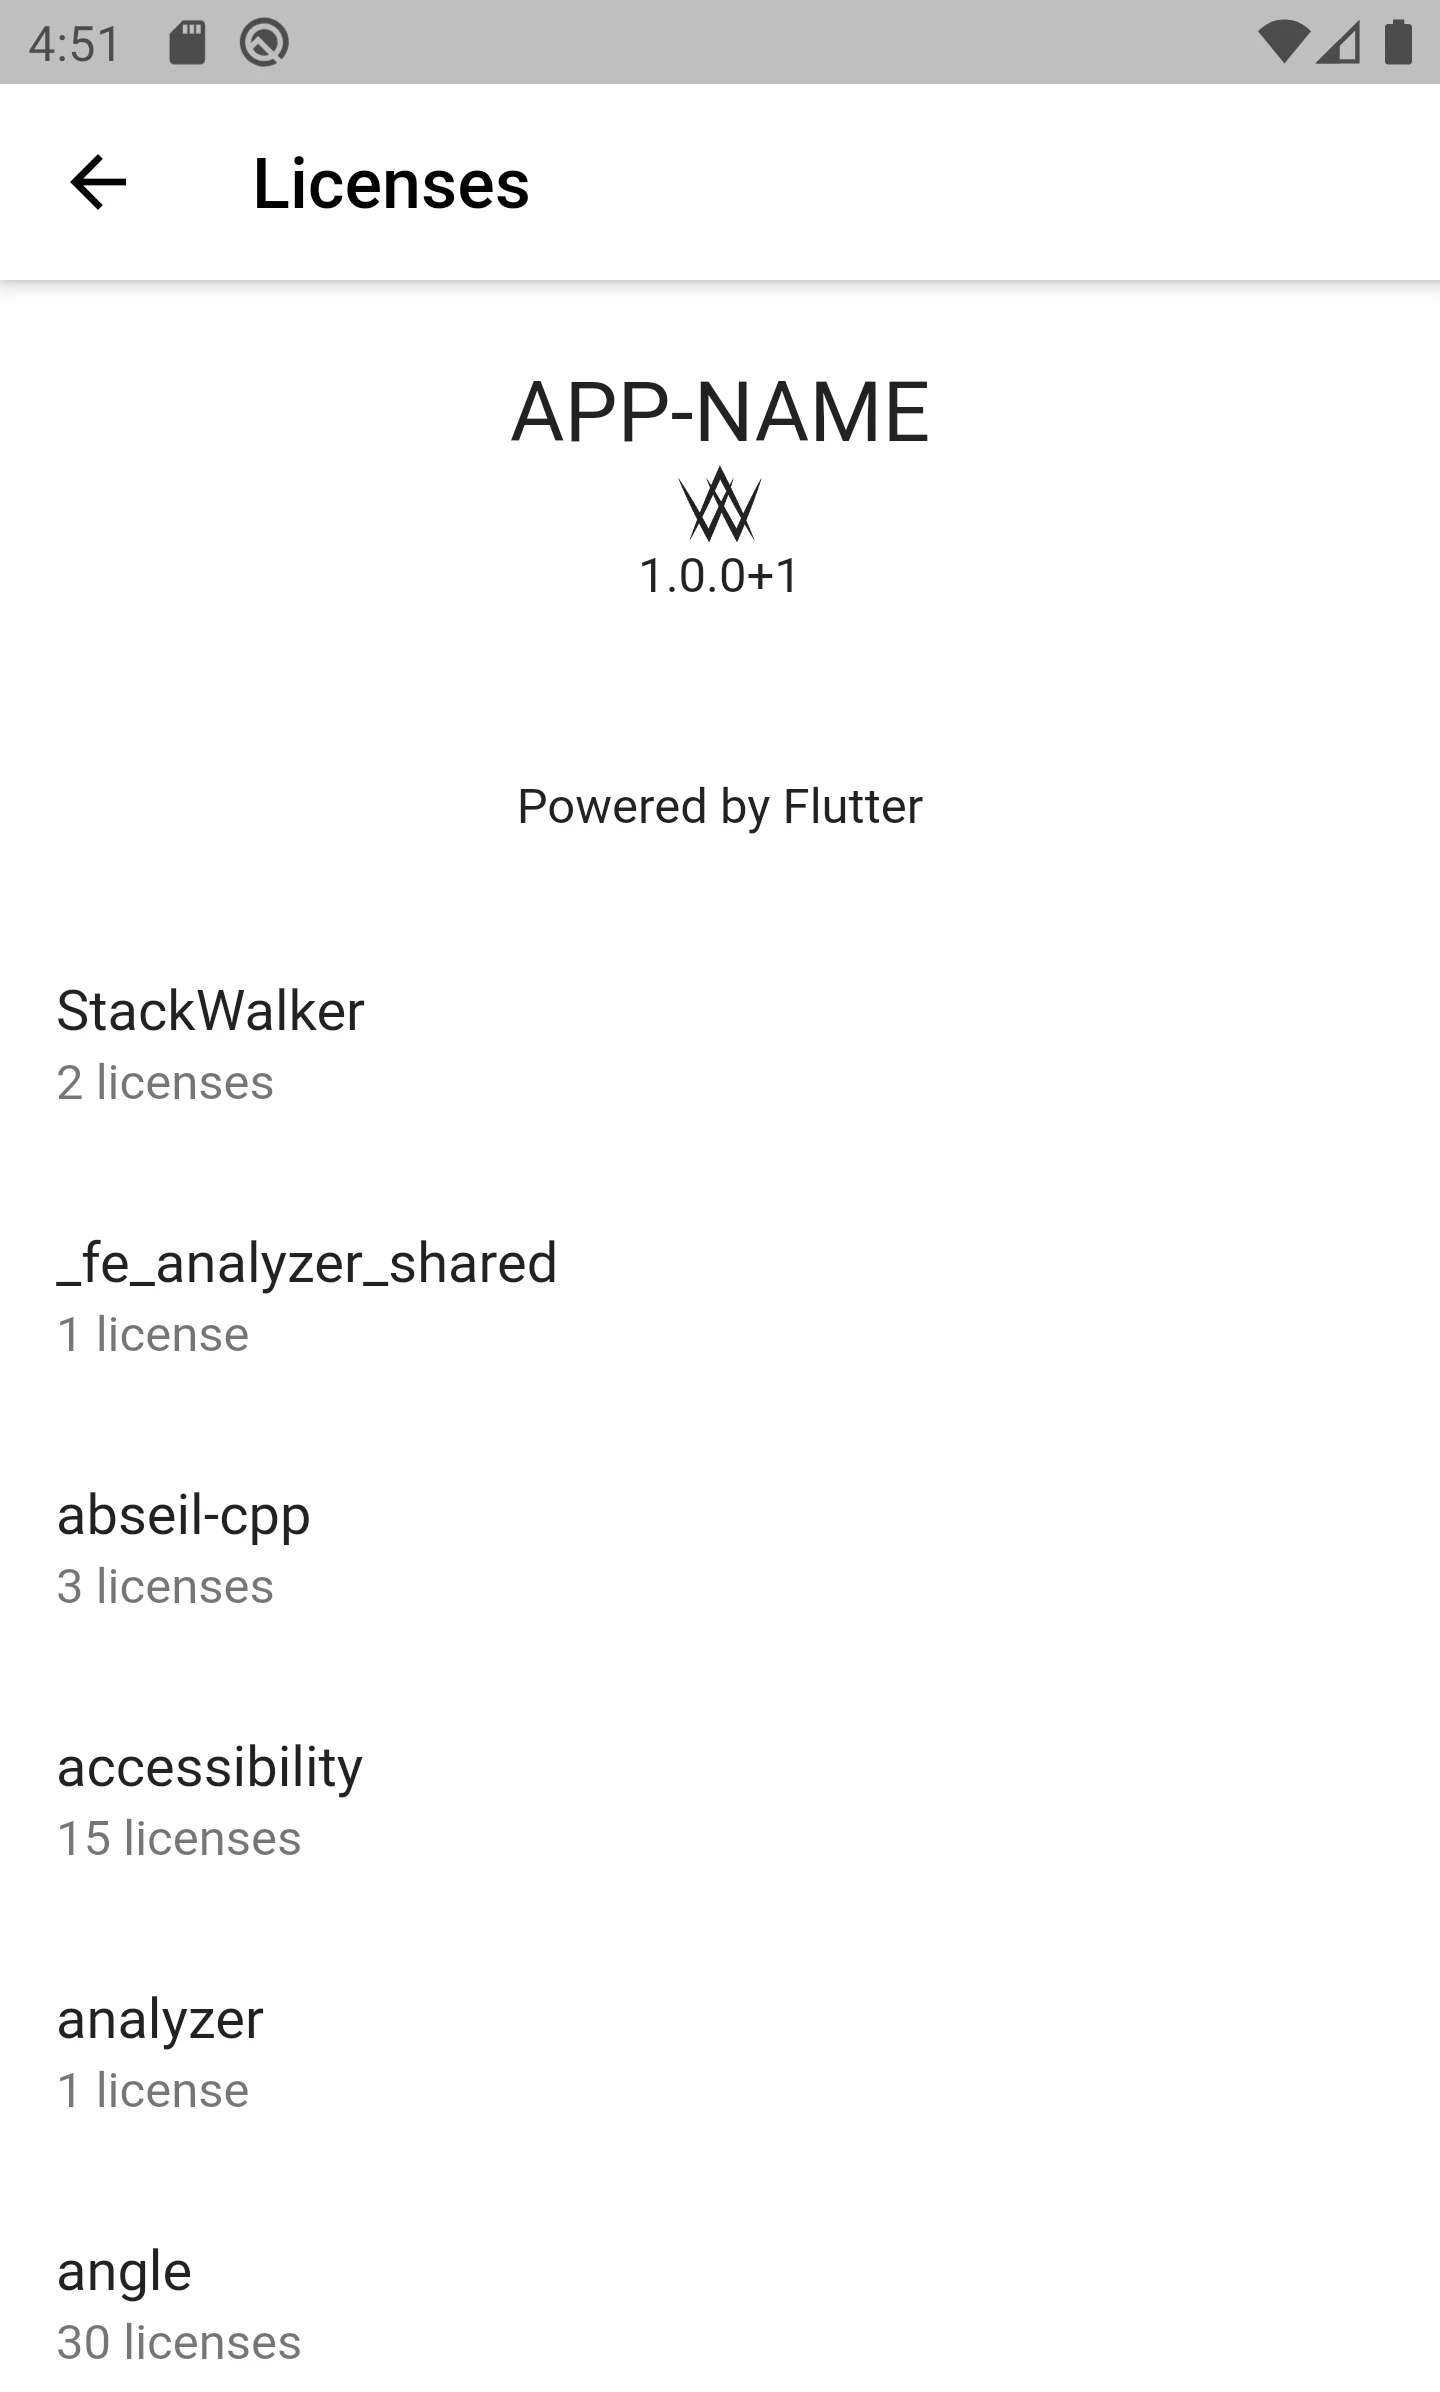
Here's what the license screen of the app looks like:
executeWhenAppReady() function of our app helper script. It ensures that your website doesn't try to interact with the app before it's ready or when your website is loaded using a regular browser (ReferenceError, function is not defined). Alternatively, if you've updated your app since December 2022, you can also call the showLicensePage JavaScript function.