All apps created with webtoapp.design contain a native settings screen which gives users access to many important features. Let's take a look at how to open the settings page and use its features!
Opening the App Settings
The most common way of opening the app settings is through the user interface. The look of the interface varies depending on the app layout you choose. So let's start with the most popular layout, the drawer menu layout:
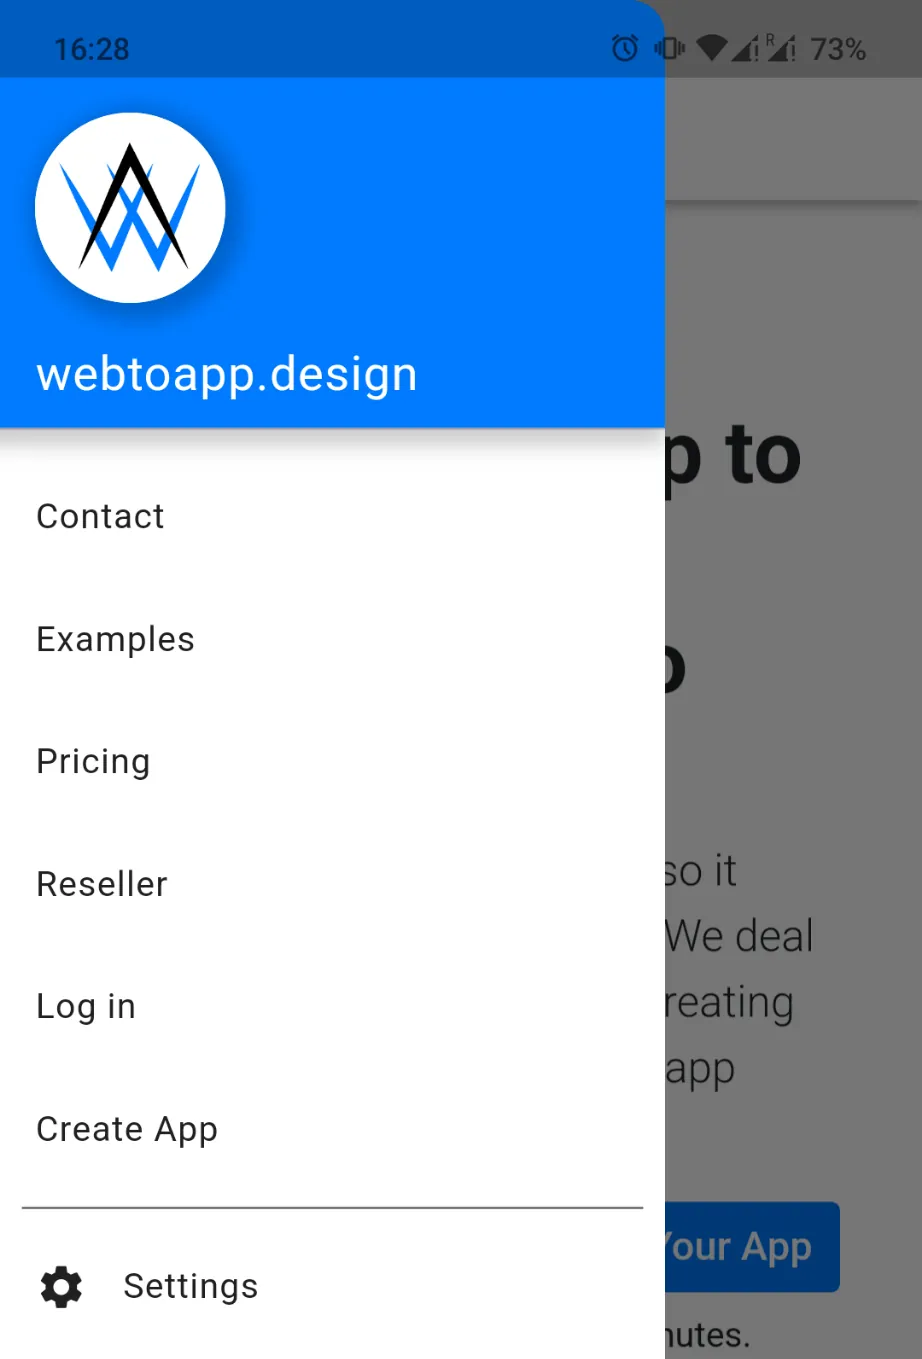
As you can see, we have the button to open the settings menu at the bottom of the side menu. It's both out of the way (because it's below the more commonly used menu items above it) but still easy for users to find. Can't see it in your app? Make sure the settings menu item is enabled in your drawer layout menu screen settings.
The settings button is more prominent in the navigation bar layout, sitting right in the bottom navigation bar:
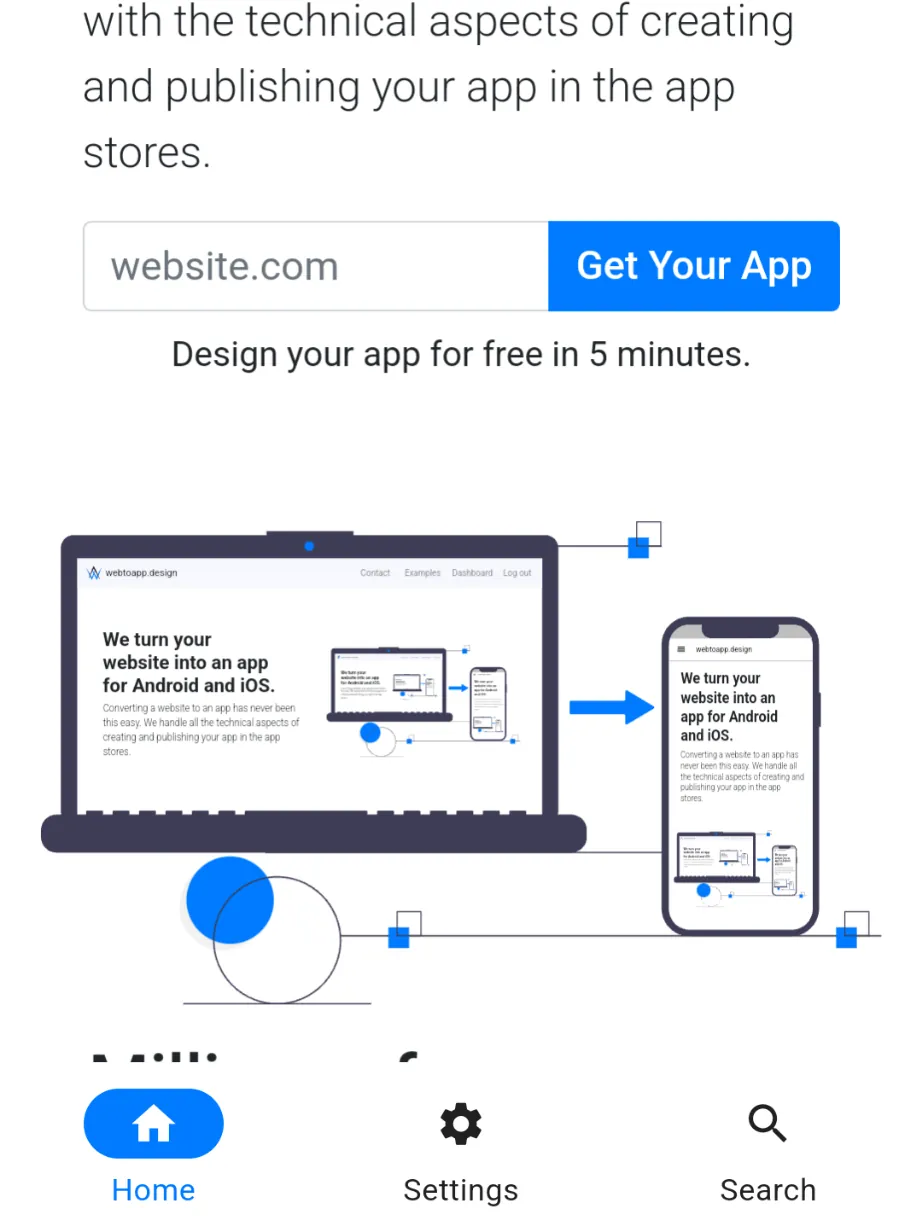
Similar to when you're using the drawer layout, the settings navigation bar item can be disabled in your webtoapp.design dashboard. This can be especially useful with the navigation bar layout, because the space in the bottom navigation bar is quite limited. You shouldn't have more than five buttons in your navigation bar and having the settings button take up one of these slots can be problematic.
With the "Just Website" layout, you can enable a floating action button that opens the settings page. Since this might be too distracting, it's disabled by default. You can find the setting for it here.
If you decide to disable the settings button for your app layout, we strongly recommend that you add an alternative way of opening the settings, because the settings screen contains many important features (as we will discuss later on).
Let's take a look at what other ways of opening the settings page there are.
Opening the Settings Screen with a Link
The easiest option is to add an "Open Settings" button/link to your website that leads to https://webtoapp.design/apps/show_settings
When this link is opened in the app, it will open the settings page. So place the link wherever you want to give the user the option to open the app settings, for example in your website's footer.
Opening the Settings Screen with JavaScript
executeWhenAppReady() function of our app helper script. It ensures that your website doesn't try to interact with the app before it's ready or when your website is loaded using a regular browser (ReferenceError, function is not defined). Instead of the link, you can also call the showSettingsPage JavaScript function, which achieves the same goal.
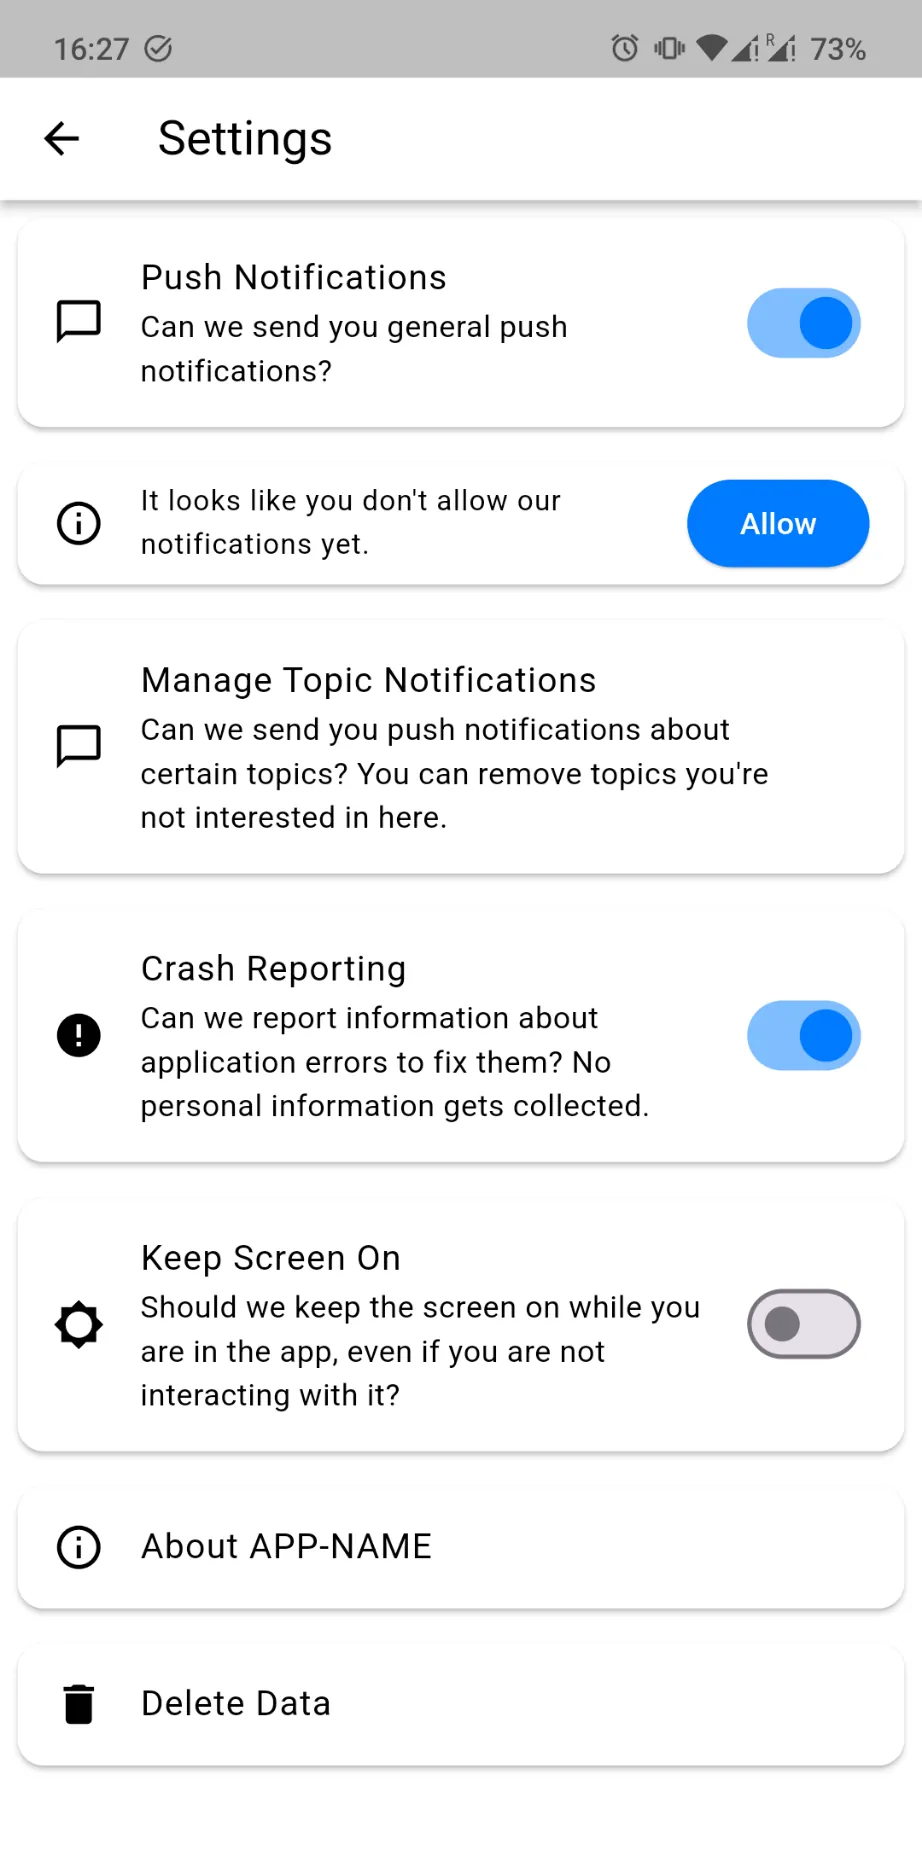
No matter which option of opening the settings you use, you will be presented with this screen:
Features
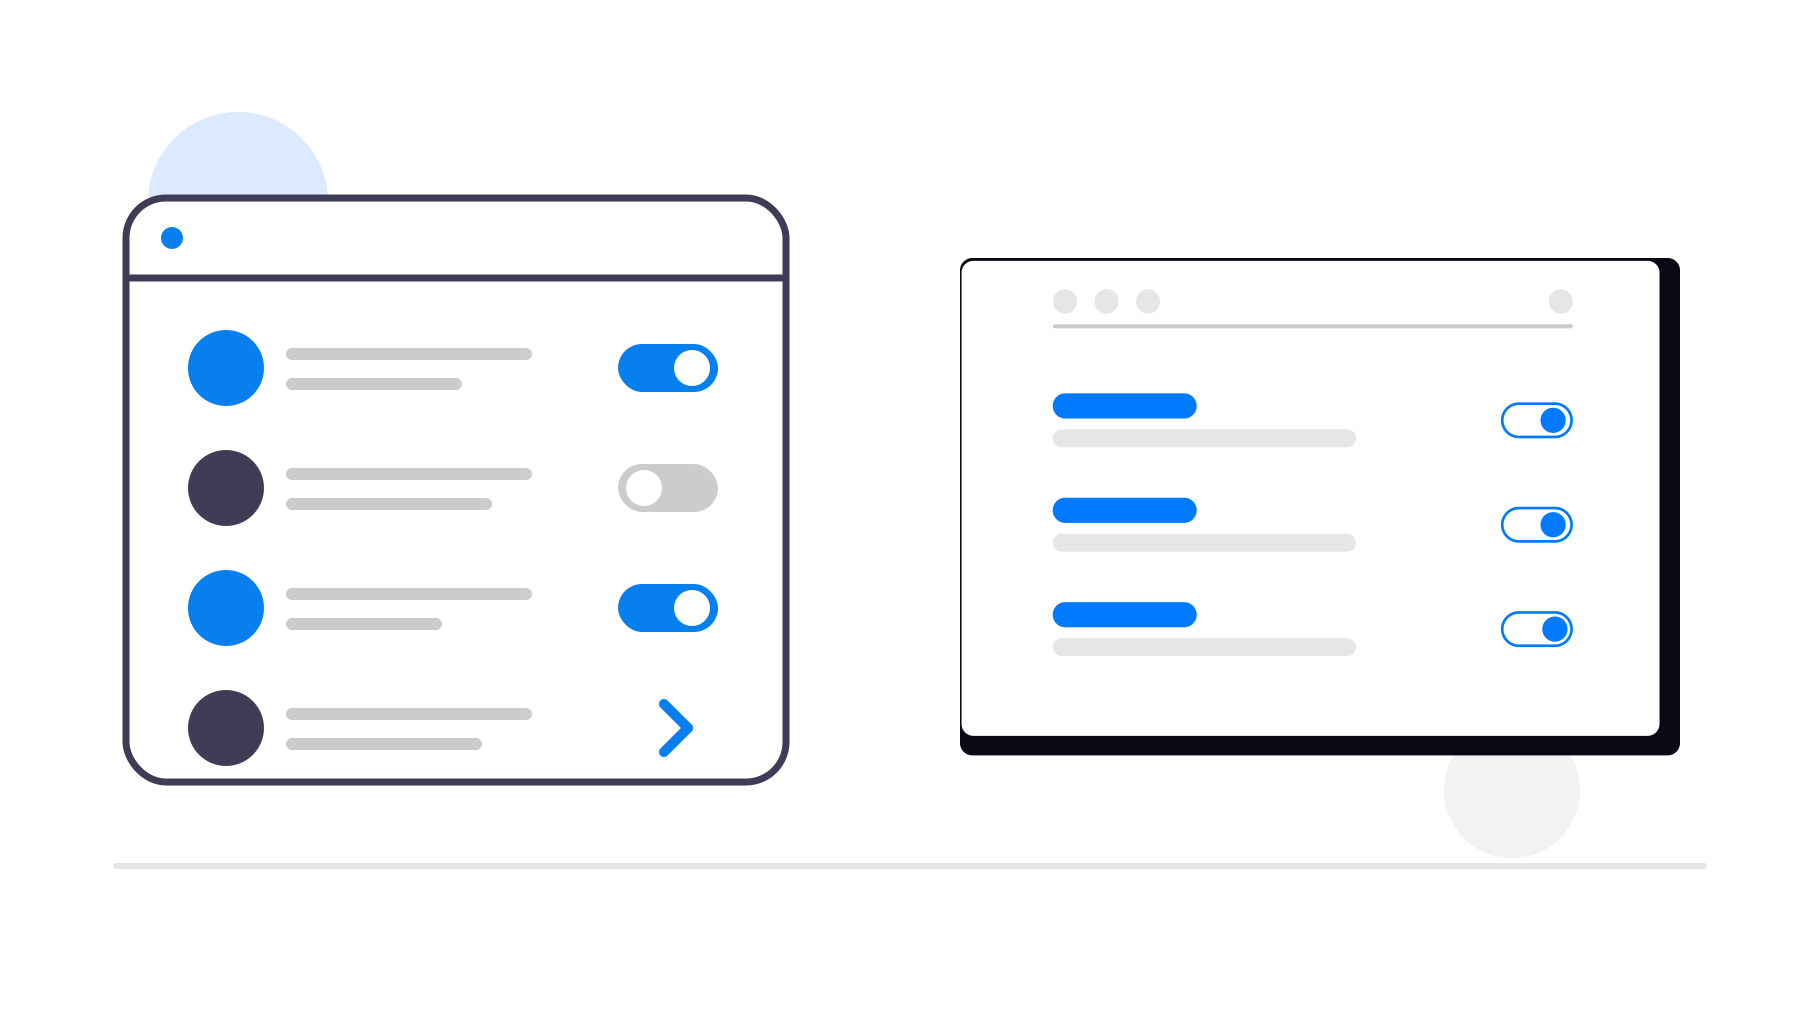
In the screenshot above we can already see most of the features the settings screen contains. Let's go over them one by one from top to bottom:
- Users can manage everything related to push notifications:
- Enable/disable notifications completely.
- Grant the push notification permission if they have not done so yet. If the user has previously rejected the push notification permission, the system settings will be opened where they can enable the notifications.
- If your website uses notification topics, users can unsubscribe from specific topics on the settings page.
- Turn crash reporting on or off. You can set the default for this in your webtoapp.design dashboard.
- Keep the device screen on while the app is open (even if the user is not interacting with it). You can change the default for this setting in your dashboard too.
- The "About the App" dialog grants access to two features:
- Users can request that their data is deleted. Read our guide to find out more about how and why to use the account deletion feature.
Conclusion
The native settings screen in your app is a powerful tool for both users and you as the app creator. By understanding and utilizing these features, you can both enhance the user experience and also save time (because you don't have to build the features of the settings screen on your website).