How to: Open and Close Custom Tabs
Updated on 18. May 2023 by Jan Bunk
Some websites or website features only work in trusted browser environments. A WebView like your app uses it to display your website is not considered trusted. That's because the features that we use to offer you a visually appealing and customizable app could be abused for nefarious purposes. Obviously our apps don't perform or allow such nefarious actions, but some websites limit all WebViews because of this theoretical risk.
To avoid that, you can open parts of your website, that don't work in WebViews in so-called custom tabs.
Example Use Cases
If your website provides a 'Login with Google' (or Apple, Facebook, Twitter, etc.) feature, it might only work in a custom tab. Facebook clearly says that logging in in WebViews is disallowed, while some of the others simply don't work.
How it Will Look
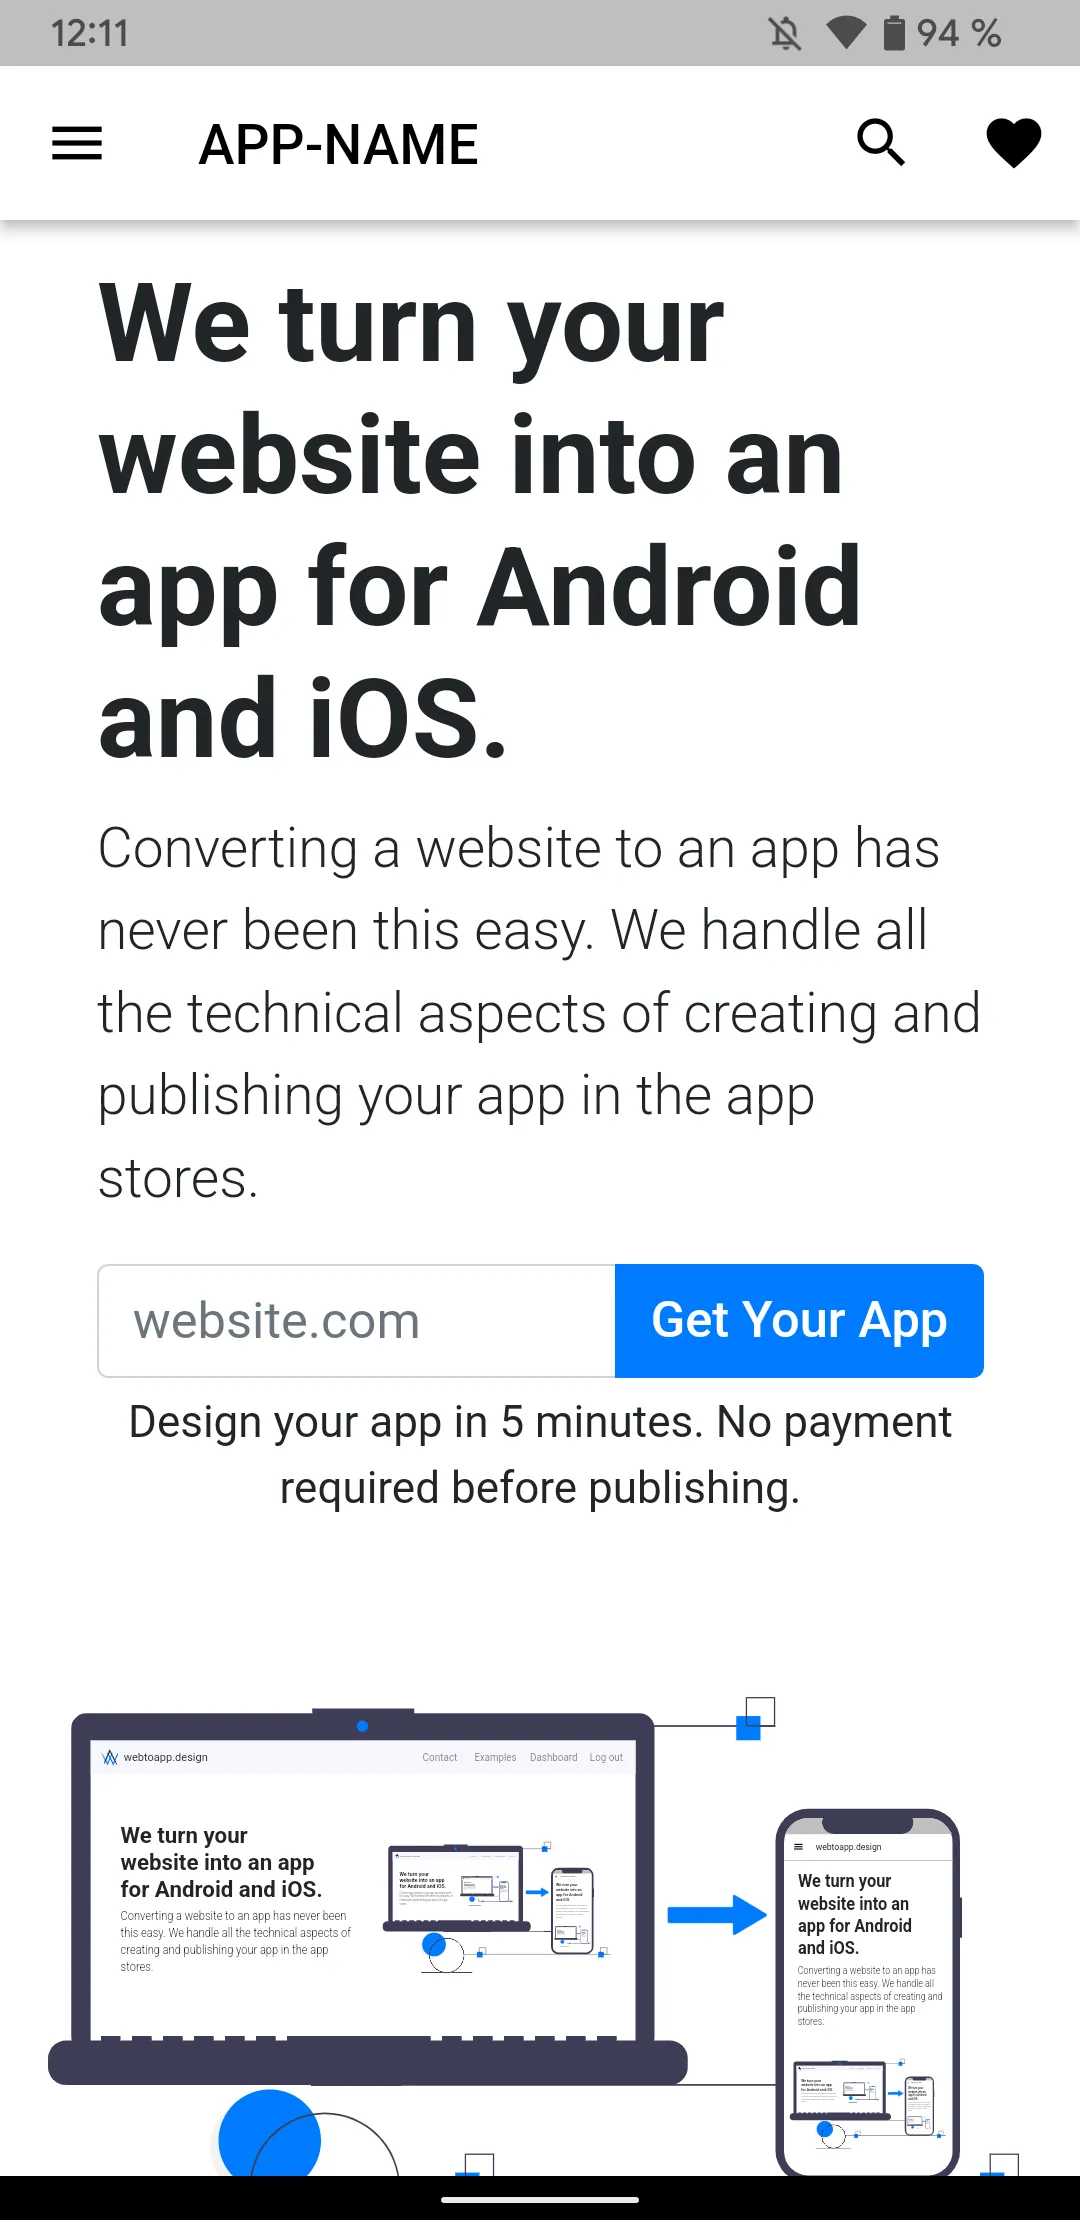
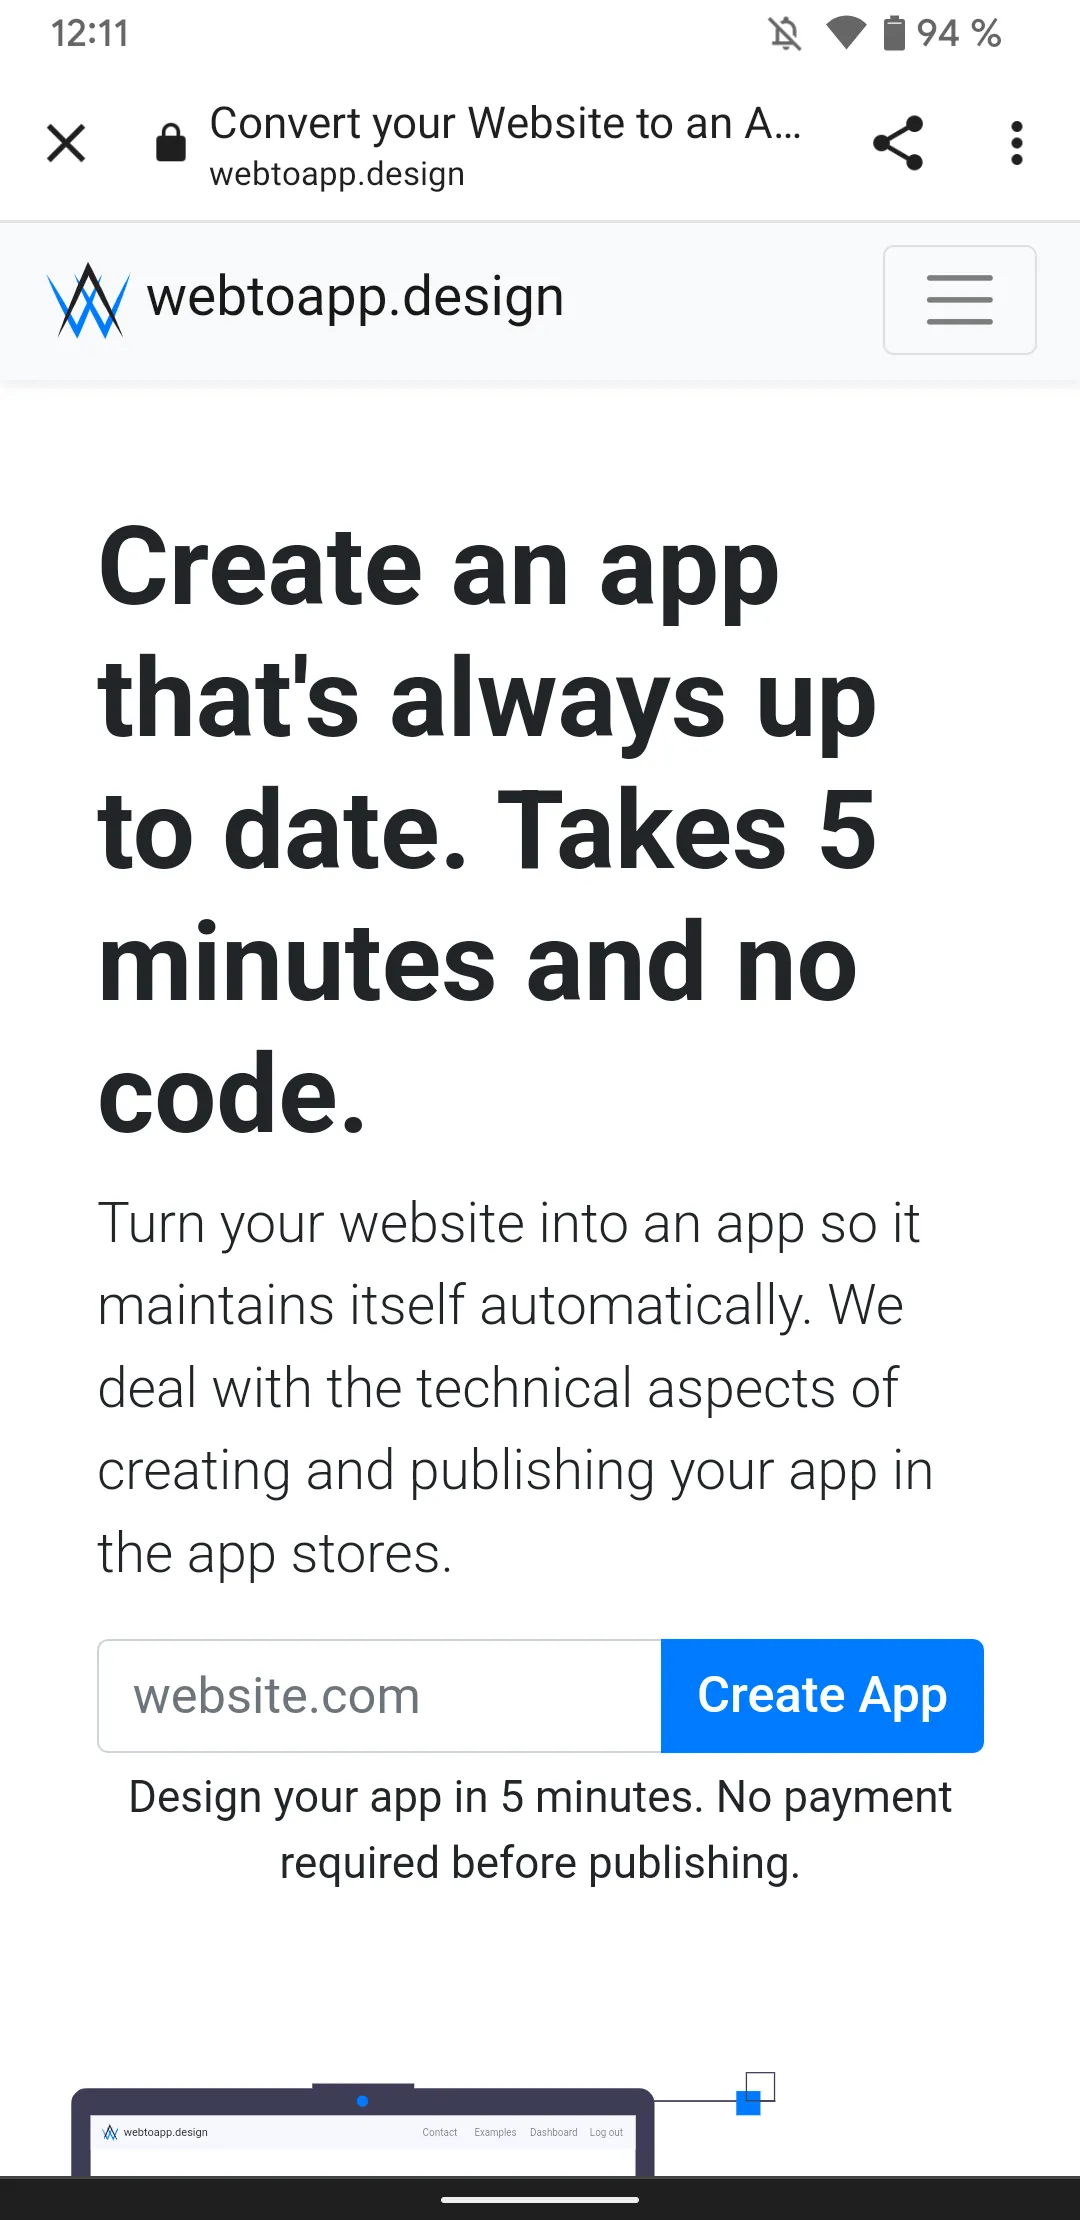
Here are 2 screenshots from our Android app so you can see the difference between opening a page in the app and in a custom tab.


Usage
- Open the custom tab. The first parameter is the URL to be opened in the custom tab. Make sure you pass a full URL starting with http or https, relative URLs will not work. The second parameter is a javascript object that contains any data you want to pass to the custom tab. This data will be passed as a URL query parameter, see the next step for how to retrieve it. You might want to check out the
executeWhenAppReady()function of our app helper script. It ensures that your website doesn't try to interact with the app before it's ready or when your website is loaded using a regular browser (ReferenceError, function is not defined).<script> openCustomTab("https://webtoapp.design/user/login", { "myFirstValue": "abc", "myNumbers": "123" }); </script> - On the page that you opened in the custom tab, check that the page was loaded in a custom tab (and not just by a regular user in the browser).
<script> if (isInCustomTab()) { // continue with the next steps... } </script> - Next, you can retrieve the data you passed to the custom tab.
<script> // this is the data you passed as a second parameter to openCustomTab, so in our example from above: // { // "myFirstValue": "abc", // "myNumbers": "123" // } let myData = getCustomTabData(); </script> - Once you're done with what you were doing in the custom tab (e.g. letting the user log in), close the custom tab. You can pass an object back to the page that opened the custom tab.
<script> closeCustomTab({ "somedata": "mydata", "moredata": { "test": "myvalue" } }) </script> - Now the user is back in the app on the page where you initially opened the custom tab. An event will fire which contains the data that you returned from the custom tab. The user can also close the custom tab manually. The event detail will indicate that as you can see below.
<script>
    document.addEventListener("customTabClosed", function (e) {
        if ("reason" in e.detail) {
            // currently only supports the reason "closed manually"
            console.log("The custom tab was " + e.detail.reason);
        }
        else {
            // the custom tab was closed by the website javascript
            // this is the data you passed to closeCustomTab, so in our example from above:
            // {
            //     "somedata": "mydata",
            //     "moredata": {
            //         "test": "myvalue"
            //     }
            let returnedData = e.detail;
        }
    });
</script>
Examples
Here are some examples on how you could implement a login flow with custom tabs.
The main problem is always that we want to log the user in in the app (because that's what the user wants to use), but they need to enter their login details in the custom tab which has separate cookies (which is usually where you store whether someone is logged in).
Logging in With Cookies
This is probably the simplest way of logging in with a custom tab. Keep in mind not to set the cookies that need to be transferred to the app as HttpOnly, because HttpOnly cookies can't be accessed via JavaScript.
 Open diagram in new window
Logging in With a Token
This login method is more complicated but more flexible, so it may be preferable depending on your use case.
 Open diagram in new window
Things to Keep in Mind
Pages loaded in a custom tab behave as if they were loaded in the user's browser, which means app-specific features won't work, for example:
- User-agent based features: Filtering out app users in your analytics,
getAppPlatform executeWhenAppReady- But that's not a problem, all the app helper functions for dealing with custom tabs don't need to wait for the app to be ready.