
Open the "About you" page in the Google Play Console.
Click "Declare status" at the top of the page.
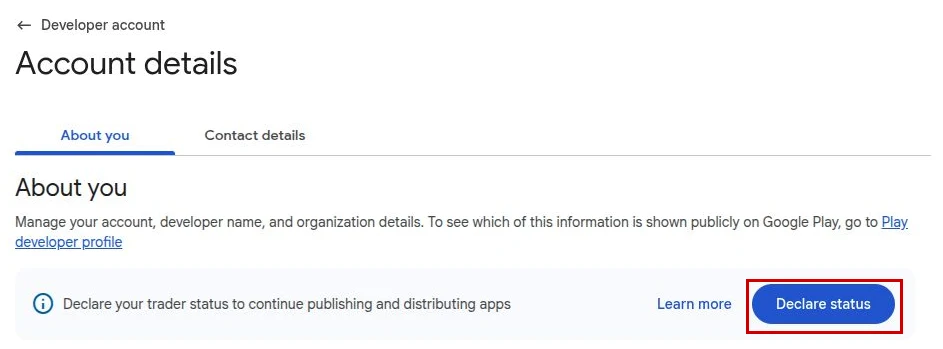
Alternatively, scroll down to "Trader status" and click "Declare your trader status".

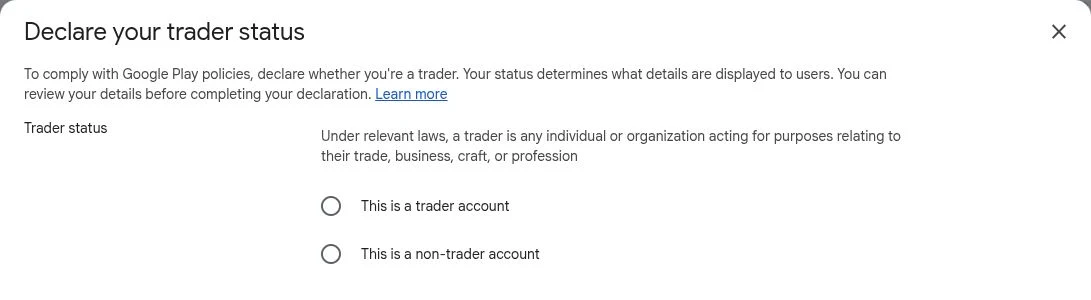
Choose your trader status
Select "This is a trader account" if you publish apps for purposes related to your business, trade or profession. A free app can also be a business app, for example if it is for your online store.
Select "This is a non-trader account" if you publish apps as a personal hobby or for other non-commercial purposes.
If you're unsure which status applies to you, read Google's explanation of trader status.
Select "This is a trader account", then click "Next".
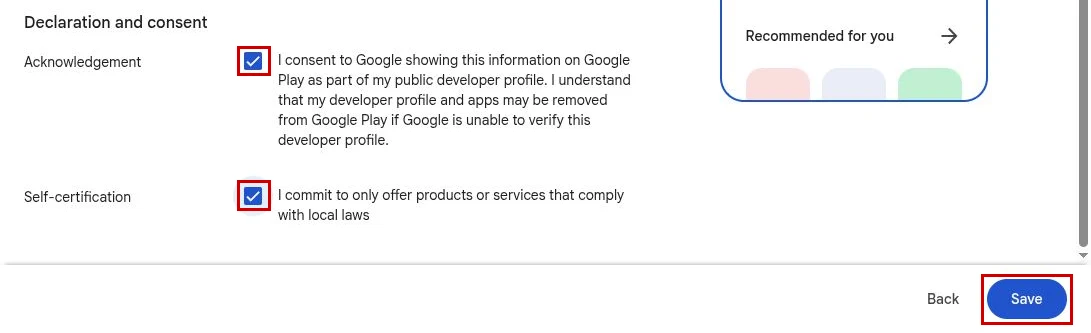
Complete the declaration
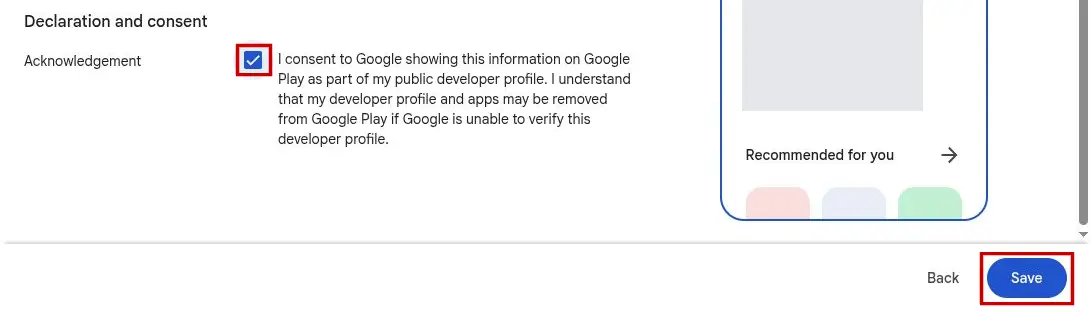
Scroll down to "Declaration and consent", tick both checkboxes and click "Save".
When you see "Trader status saved", click "Done".
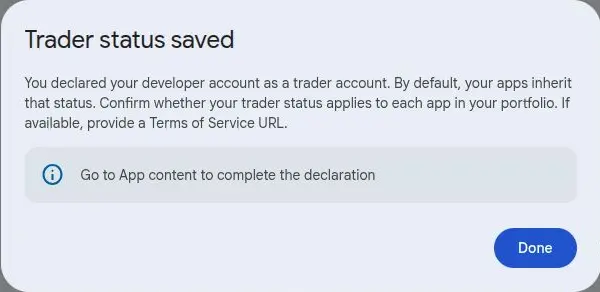
Confirm the trader status for your apps
Open the "App content" page in the Google Play Console.
Find "App-level trader status and Terms of Service" and click "Start declaration".
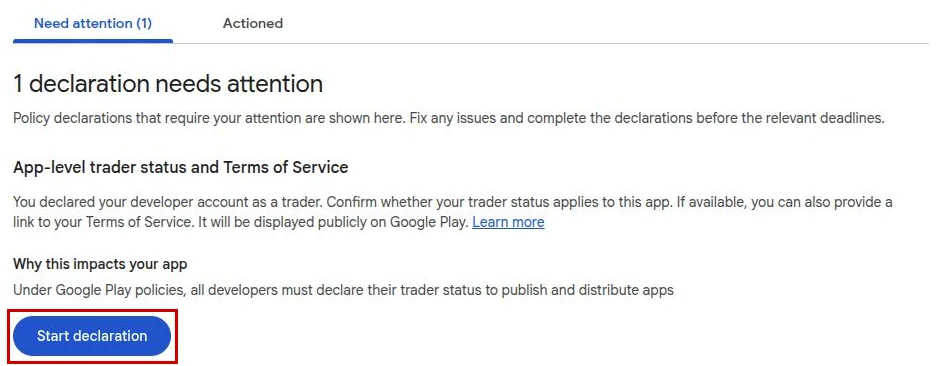
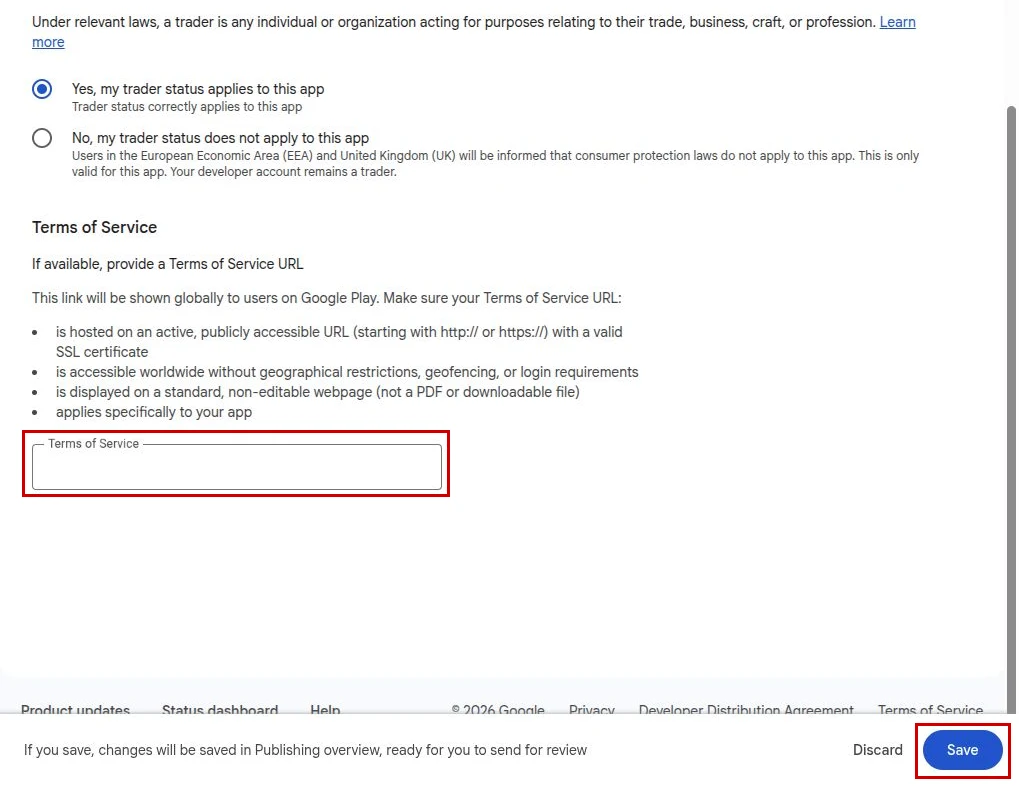
Choose whether your trader status applies to this app. You can optionally enter the URL of a Terms of Service page for your app or website. Then click "Save".
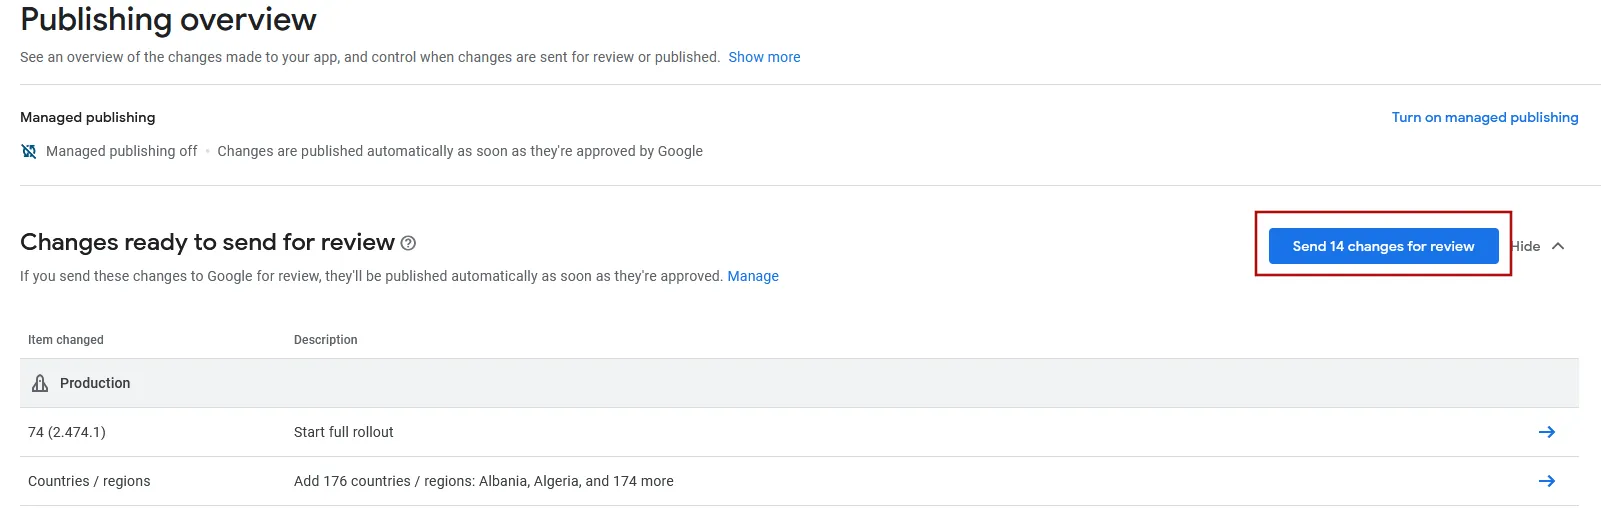
Go to the publishing overview in the Google Play Console.
Submit the changes for review using the button at the top right.
Repeat the app declaration for your other apps in the account.
Select "This is a non-trader account", then click "Next".
Complete the declaration
Scroll down to "Declaration and consent", tick the checkbox and click "Save".
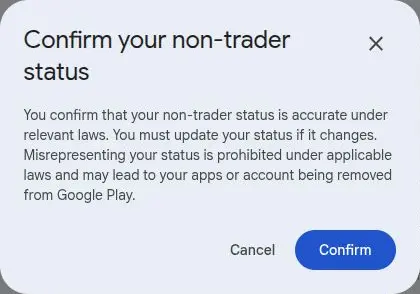
Click "Confirm" in the popup.
Your account details should now show "Non-trader" under "Trader status".



