Apple rechaza las apps que permiten a los usuarios crear una cuenta pero no les permiten iniciar la eliminación de la cuenta desde dentro de la app.
Mejor solución: ofrecer la eliminación de cuenta en tu web
Para apps basadas en sitios web, la mejor solución suele ser añadir la eliminación de cuenta en tu propia web. Así, la función funciona igual en la web y en la app.
La configuración ideal es una opción de eliminar cuenta de autoservicio en el área de cuenta del usuario. Si ahora mismo es demasiado difícil de implementar, también puede servir un formulario específico para solicitar la eliminación de la cuenta.
Si usas un formulario de solicitud, debe ser específicamente para la eliminación de cuenta. Apple no acepta un formulario general de soporte donde la eliminación de cuenta sea solo uno de muchos temas.
Solución alternativa: usar la función integrada de la app
También puedes usar la función integrada de eliminación de cuenta de la app. Puedes encontrar más información sobre cómo activarla aquí. Solo asegúrate de que la pantalla de ajustes que contiene la función de eliminación de cuenta sea accesible en tu app.
Dile a Apple dónde encontrarla
Después de añadir la función de eliminación de cuenta, responde a Apple y diles exactamente dónde encontrarla en la app.
Si estás usando la función integrada de eliminación de cuenta de la app, la explicación puede ser algo así:
- Si estás usando el diseño con menú lateral (drawer): Puedes encontrar la función de eliminar cuenta aquí: Menú lateral -> Ajustes -> Eliminar datos
- Si estás usando el diseño con barra de navegación: Puedes encontrar la función de eliminar cuenta en los ajustes (abajo a la derecha en la barra de navegación)
Si añadiste la función de eliminación de cuenta a tu web, explica cómo navegar hasta ella.
Si Apple rechazó la app por segunda vez porque aún no puede encontrar la función aunque describiste los pasos, envíales una grabación de pantalla en la que se vea cómo navegas hasta la función de eliminar cuenta en la app.
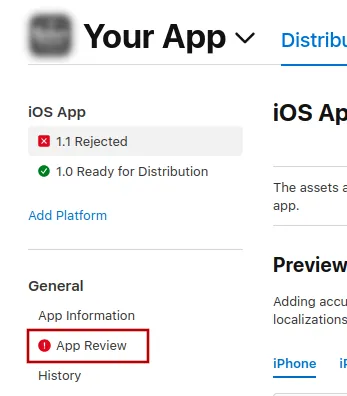
Para enviarle un mensaje a Apple, haz clic en "Revisión de apps".
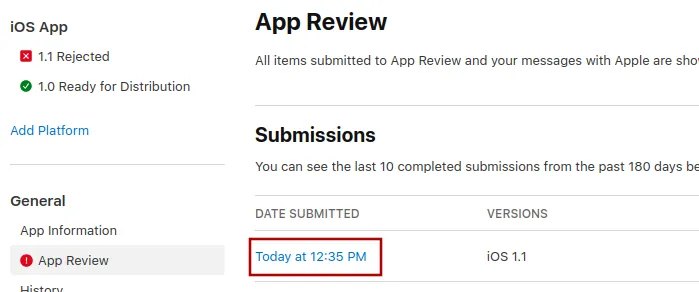
Ahí, selecciona el envío más reciente.
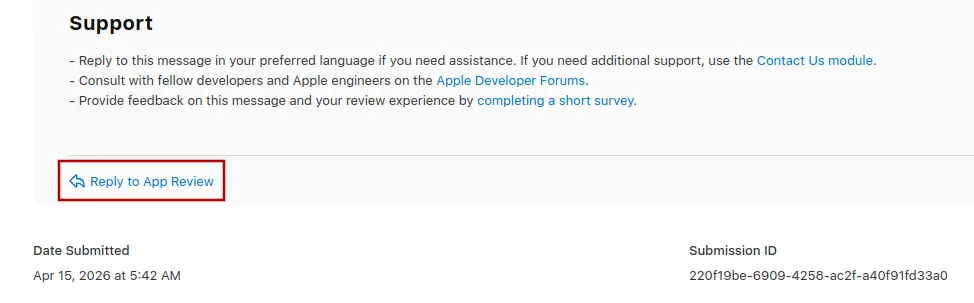
Ahora puedes desplazarte hasta el final del mensaje de rechazo de Apple y hacer clic en "Responder a Revisión de apps" y escribir tu mensaje en la ventana emergente que se abre.
Enviar la app a revisión de nuevo
Si este fue el último o el único motivo de rechazo de la app, seguí estos pasos para enviar tu app a revisión de nuevo:
Andá a la página de la versión haciendo clic en "Distribution" en la parte superior de la pantalla o en el número de versión en el menú de la izquierda.

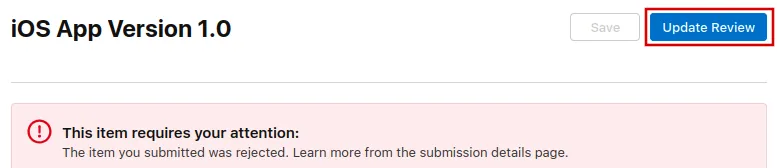
Ahora hacé clic en el botón "Update Review" arriba a la derecha.
Después, hacé clic en "Resubmit to App Review" en la siguiente página que se abre.

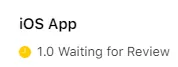
Entonces debería decir "Esperando revisión" (Waiting for Review).