Apple avslår appar som låter användare skapa ett konto men inte också låter dem initiera kontoborttagning inifrån appen.
Bästa lösningen: Erbjud kontoborttagning på din webbplats
För appar som bygger på webbplatser är den bästa lösningen oftast att lägga till kontoborttagning på själva webbplatsen. Då funkar funktionen på samma sätt på webben och i appen.
Den bästa lösningen är ett självbetjäningsalternativ för att radera konto i användarens kontoområde. Om det är för svårt att bygga just nu kan även ett dedikerat formulär för begäran om kontoborttagning fungera.
Om du använder ett formulär måste det vara specifikt för kontoborttagning. Apple godkänner inte ett generellt supportformulär där kontoborttagning bara är ett av många ämnen.
Alternativ lösning: Använd den inbyggda appfunktionen
Du kan också använda appens inbyggda funktion för kontoborttagning. Du hittar mer information om hur du aktiverar den här. Se bara till att inställningsskärmen som innehåller funktionen för kontoborttagning är åtkomlig i din app.
Berätta för Apple var den finns
Efter att du har lagt till funktionen för kontoborttagning, svara Apple och berätta exakt var de hittar den i appen.
Om du använder appens inbyggda funktion för kontoborttagning kan förklaringen vara ungefär så här:
- Om du använder drawer-layouten: Du hittar funktionen för att radera konto här: Sidomeny -> Inställningar -> Radera data
- Om du använder navigeringsfälts-layouten: Du hittar funktionen för att radera konto i inställningarna (längst ner till höger i navigeringsfältet)
Om du lade till funktionen för kontoborttagning på din webbplats, förklara hur man navigerar till den.
Om Apple avslår appen en andra gång eftersom de fortfarande inte kan hitta funktionen trots att du beskrev stegen, skicka dem en skärminspelning där du navigerar till funktionen för att radera konto i appen.
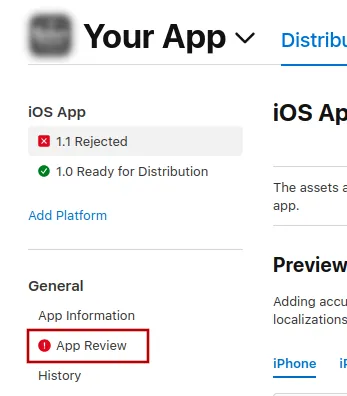
För att skicka ett meddelande till Apple, klicka på "App Review".
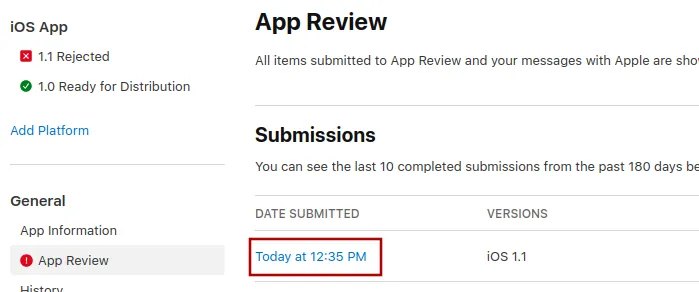
Välj där den senaste inlämningen.
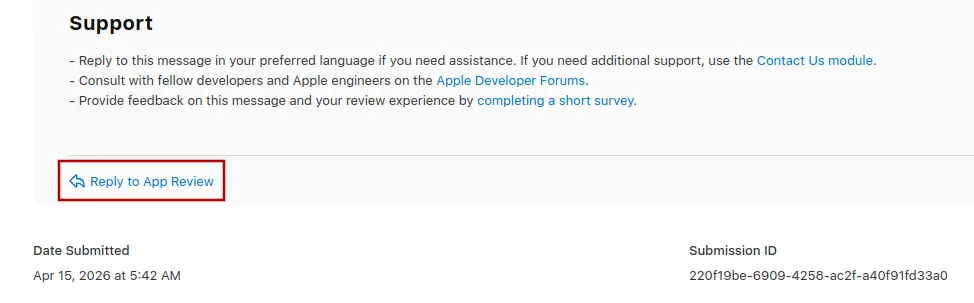
Nu kan du scrolla längst ner i Apples avslagsmeddelande och klicka på "Reply to App Review" och skriva ditt meddelande i popup-fönstret som öppnas.
Skicka in appen för granskning igen
Om detta var den sista eller enda orsaken till att appen avvisades, följ dessa steg för att skicka in din app för granskning igen:
Gå till versionssidan genom att klicka på ”Distribution” högst upp på skärmen eller versionsnumret i menyn till vänster.

Klicka nu på knappen ”Update Review” uppe till höger.
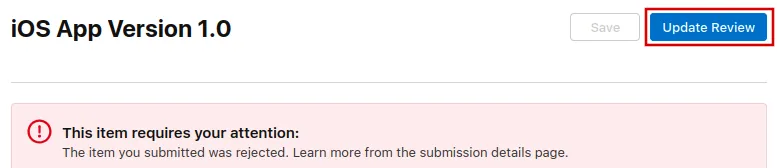
Efteråt klickar du på ”Resubmit to App Review” på nästa sida som öppnas.

Det ska då stå "Waiting for Review" (väntar på granskning).