Apple lehnt Apps ab, die Nutzern das Erstellen eines Kontos erlauben, aber nicht auch das Anstoßen der Kontolöschung direkt in der App ermöglichen.
Beste Lösung: Kontolöschung auf deiner Website anbieten
Bei Apps, die auf Websites basieren, ist die beste Lösung meist, die Kontolöschung direkt auf deiner Website hinzuzufügen. So funktioniert die Funktion im Web und in der App auf die gleiche Weise.
Die ideale Lösung ist eine Self-Service-Option zum Löschen des Kontos im Kontobereich des Nutzers. Wenn das aktuell zu aufwendig ist, kann auch ein eigenes Formular für Kontolöschanfragen funktionieren.
Wenn du ein Anfrageformular verwendest, muss es speziell für Kontolöschung sein. Apple akzeptiert kein allgemeines Support-Formular, bei dem Kontolöschung nur eines von vielen Themen ist.
Alternative Lösung: Nutze die integrierte App-Funktion
Du kannst auch die integrierte Funktion der App zum Löschen von Konten verwenden. Mehr Informationen dazu, wie du sie aktivierst, findest du hier. Stell nur sicher, dass der Einstellungsbildschirm, der die Kontolöschfunktion enthält, in deiner App erreichbar ist.
Sag Apple, wo sie es finden
Nachdem du die Kontolöschfunktion hinzugefügt hast, antworte Apple und sag ihnen genau, wo sie sie in der App finden.
Wenn du die integrierte Kontolöschfunktion der App verwendest, kann die Erklärung z. B. so aussehen:
- Wenn du das Drawer-Layout verwendest: Du findest die Funktion zum Löschen des Kontos hier: Seitenmenü -> Einstellungen -> Daten löschen
- Wenn du das Navigationsleisten-Layout verwendest: Du findest die Funktion zum Löschen des Kontos in den Einstellungen (unten rechts in der Navigationsleiste)
Wenn du die Kontolöschfunktion zu deiner Website hinzugefügt hast, erkläre, wie man dorthin navigiert.
Wenn Apple die App ein zweites Mal abgelehnt hat, weil sie die Funktion trotz deiner Beschreibung immer noch nicht finden, schick ihnen eine Bildschirmaufnahme, in der du in der App zur Kontolöschfunktion navigierst.
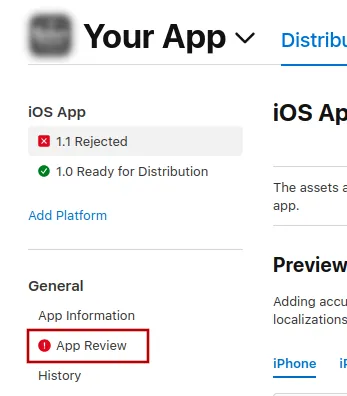
Um Apple eine Nachricht zu senden, klicke auf „App Review“.
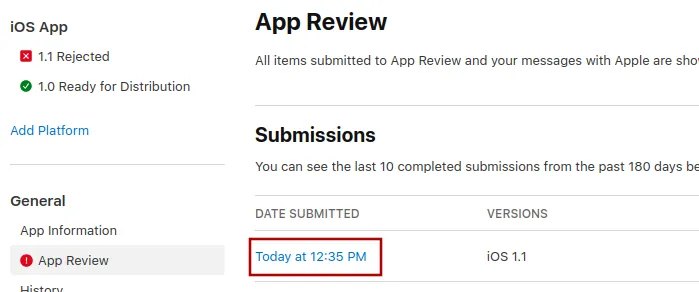
Wähle dort die neueste Einreichung aus.
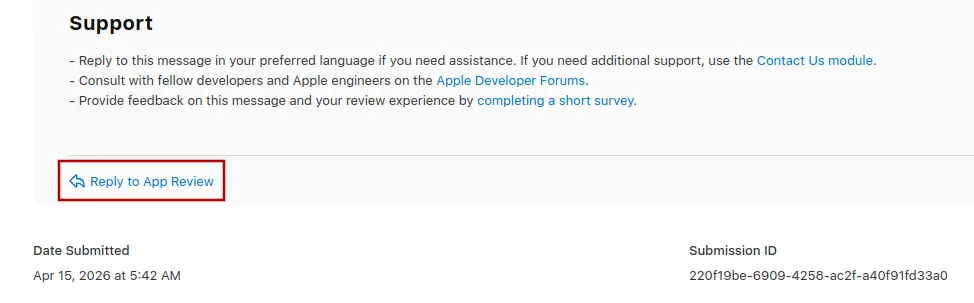
Jetzt kannst du bis zum Ende von Apples Ablehnungsnachricht scrollen, auf „Reply to App Review“ klicken und deine Nachricht in dem Popup schreiben, das sich öffnet.
Die App erneut zur Prüfung einreichen
Wenn das der letzte oder einzige Ablehnungsgrund war, folge bitte diesen Schritten, um deine App erneut zur Prüfung einzureichen:
Gehe zur Versionsseite, indem du oben auf dem Bildschirm auf „Distribution“ klickst oder im Menü links auf die Versionsnummer.

Klicke jetzt oben rechts auf den Button „Update Review“.
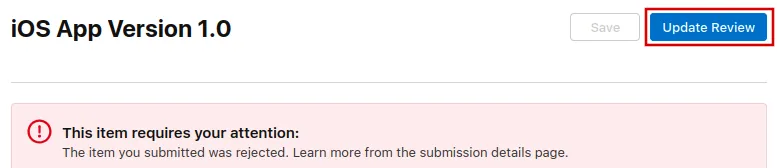
Klicke danach auf der nächsten Seite, die sich öffnet, auf „Resubmit to App Review“.

Dort sollte dann "Warten auf Überprüfung" stehen.