Apple rejected the app because one or more permission messages do not clearly explain why the app needs access to a protected resource, such as the camera, microphone, location, or Face ID. Apple calls these messages purpose strings.
A purpose string must name the specific feature that needs the permission and explain how the protected resource will be used. A generic message that only asks for access is not enough.
Find the Permission Apple Flagged
Check Apple's rejection message and any attached screenshot. The screenshot often shows the permission prompt that needs to be changed.
Then identify where your website or app requests that permission. Common examples that are often overlooked include:
- Camera access for taking a profile picture or sending an image in your website's support chat.
- Microphone access for recording a video or voice message in the support chat.
- Location access for filling in the user's current address automatically on an e-commerce checkout page.
Update the Permission Message
Open the permission settings in your webtoapp.design dashboard.
Keep the permission enabled and replace its explanation with a specific reason. Describe the actual feature and what the user can do after granting access.
For example, use a clear message such as:
- The app needs access to your camera to take a profile picture.
- The app needs access to your microphone to record a video for your diary entry.
Avoid general messages that do not explain why the permission is needed, such as:
- The app needs access to your camera.
- Please grant the microphone permission.
Rebuild Your iOS App
Permission strings are included in the app build. So after changing them, you need to upload a new build to App Store Connect by clicking the button below.
Select Your App and Rebuild ItCreating and uploading the new build takes a while. We will send you an email when it is ready to be selected in App Store Connect.
Select the New Build
Open the App Store Connect app overview.Select your app.
Scroll down to the "Build" section and click the "Add Build" or the plus button.
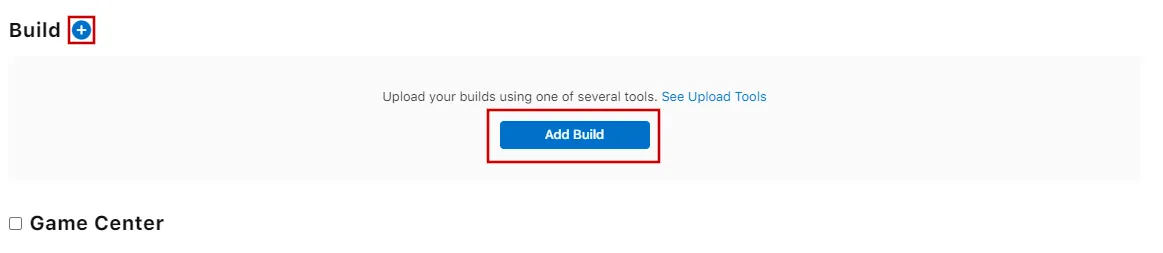
Pick the newest build (highest build number).
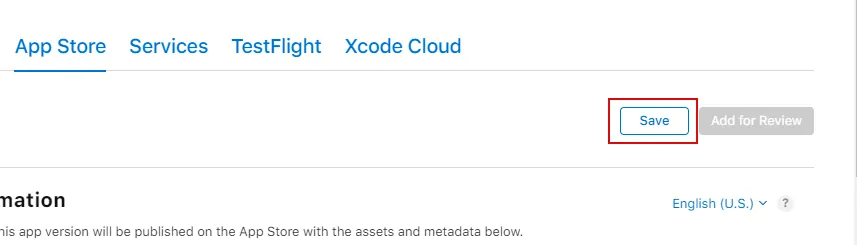
You can now click the "Save" button at the top right.
Submitting the app for review again
If this was the last or only app rejection reason, please follow these steps to submit your app for review again:
Go to the version page by clicking "Distribution" at the top of your screen or the version number in the menu on the left.

Now click the "Update Review" button at the top right.
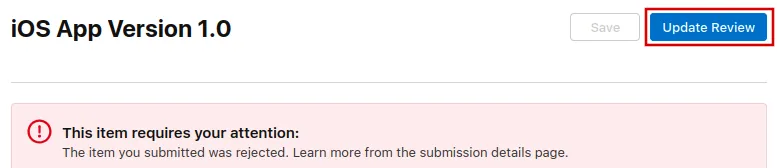
Afterwards, click "Resubmit to App Review" on the next page that opens.

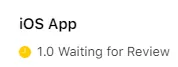
It should then say "Waiting for Review".